There is a reason grandmothers always say the secret is in the mixing. You cannot simply throw ingredients in a bowl and expect magic; you have to build a relationship with the dough. When you understand how butter and sugar work together, you create a foundation that turns a simple sugar cookie into a memory that lasts a lifetime.

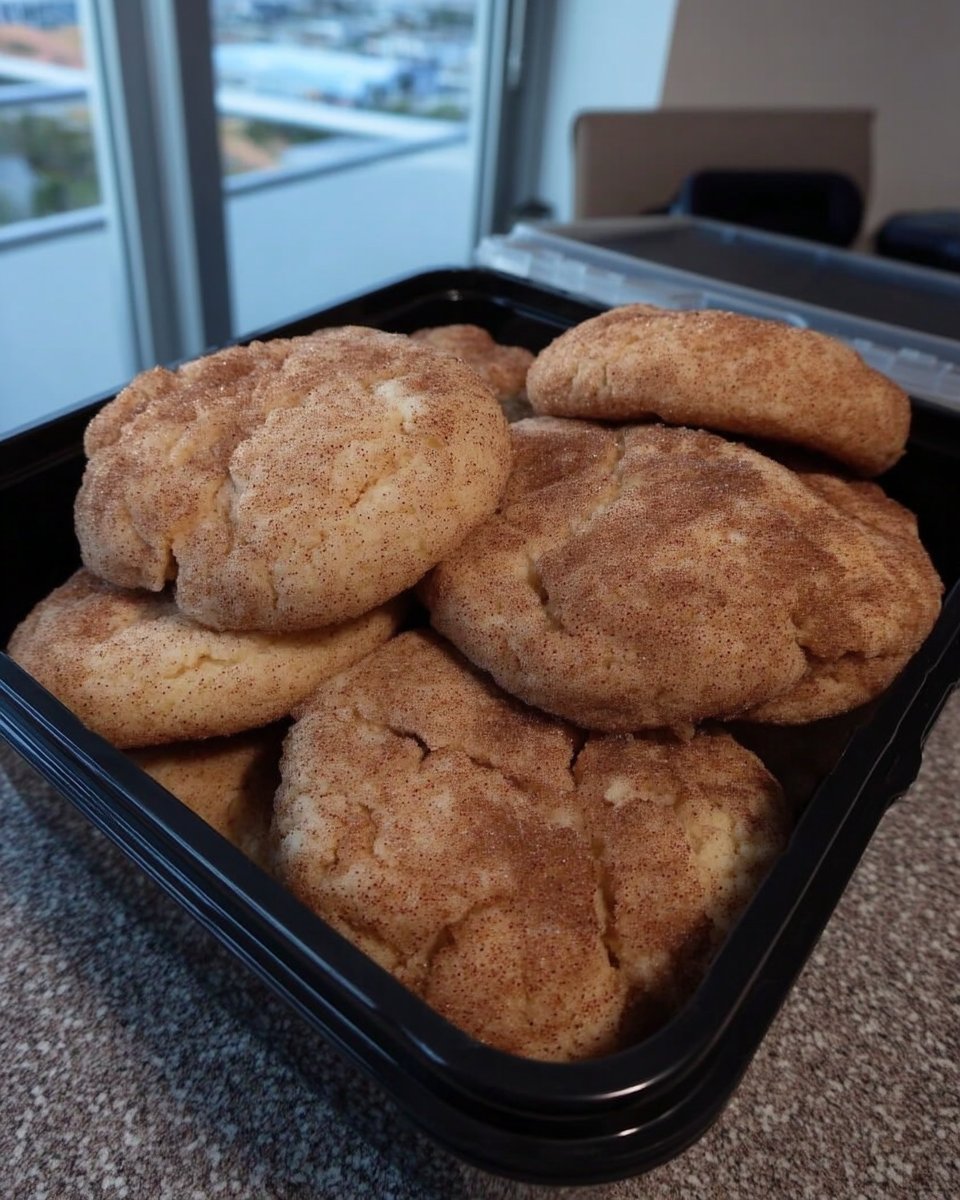
These Swig sugar cookies are legendary for a reason—they break the classic mold by using a combination of butter and oil for a texture that is impossibly soft and tender. With their signature rough edges and thick layer of creamy frosting, they are a fun, nostalgic treat that brings the best of the bakery right into your home kitchen.
Why This Recipe is a Keeper
Unlike traditional rolled sugar cookies that can sometimes turn out dry or crumbly, this recipe relies on a unique fat ratio. The combination of salted butter and vegetable oil ensures the crumb stays moist and tender for days. It is a forgiving dough that does not require rolling pins or cookie cutters, making it perfect for bakers of all skill levels.
The signature technique of pressing the dough balls with a glass gives these cookies their rustic, crinkled edge, which catches the frosting perfectly. The addition of cream of tartar and sour cream adds a subtle tang that cuts through the sweetness, creating a balanced flavor profile that keeps you coming back for just one more bite.
Print
Swig Sugar Cookies
- Total Time: 28 mins
- Yield: 36 cookies
- Diet: Vegetarian
Description
These iconic Swig-style sugar cookies feature a unique blend of butter and oil for a soft, melt-in-your-mouth texture finished with signature ruffled edges. Topped with a thick, creamy sour cream frosting, they are the ultimate chilled treat for any occasion.
Ingredients
- 1 cup salted butter, softened
- 3/4 cup vegetable oil
- 1 1/4 cups granulated sugar
- 3/4 cup powdered sugar
- 2 tablespoons sour cream
- 2 large eggs
- 1 teaspoon vanilla extract
- 5 1/2 cups all-purpose flour
- 1/2 teaspoon baking soda
- 1/2 teaspoon cream of tartar
- 1/2 teaspoon salt
- Extra granulated sugar for pressing
- 1/2 cup butter, softened (for frosting)
- 2 tablespoons sour cream (for frosting)
- 4 cups powdered sugar (for frosting)
- 1 teaspoon vanilla extract (for frosting)
- 1–2 tablespoons milk (for frosting)
- Sprinkles for garnish
Instructions
- Preheat your oven to 350 degrees F (175 degrees C) and line baking sheets with parchment paper.
- In a large stand mixer bowl, combine softened butter, oil, granulated sugar, powdered sugar, baking soda, cream of tartar, and salt; beat for 1–2 minutes until creamy and smooth.
- Add the sour cream, eggs, and vanilla extract to the bowl and mix for another 1–2 minutes until well combined, scraping down the sides as needed.
- Gradually incorporate the flour into the wet ingredients, mixing just until no dry streaks remain to ensure a tender crumb.
- Scoop the dough into 3-tablespoon balls and place them on the prepared baking sheets.
- Dip the bottom of a flat glass in granulated sugar and press each dough ball down to 1/4 to 1/2 inch thickness, allowing the edges to crack and ruffle.
- Bake for 7–9 minutes until the edges are just set but not browned; the centers should still look slightly underbaked.
- Allow the cookies to cool completely on the pan before frosting.
- Whip the frosting ingredients together until smooth and fluffy, then spread a generous layer over each cooled cookie and add sprinkles if desired.
Notes
For the most authentic bakery experience, serve these cookies slightly chilled, which gives the frosting a fudgy texture and keeps the cookie base soft and dense. If you find the dough sticking to your glass during the pressing stage, ensure you dip it in granulated sugar before every single cookie for a clean release.
- Prep Time: 20 mins
- Cook Time: 8 mins
- Category: Dessert
- Method: Baking
- Cuisine: American
The Dough Base

Quality ingredients are the backbone of any great cookie, and this recipe is no exception. Here is what you need to build that perfect foundation:
- Salted Butter: I always start with salted butter at room temperature. It provides that classic rich flavor and helps the cookies hold their shape better than oil alone.
- Neutral Oil: Canola, vegetable, or grapeseed oil works best here. This is the secret to that melt-in-your-mouth tenderness.
- Sugars: We use a blend of granulated sugar and powdered sugar in the dough. The powdered sugar contributes to the soft, tender melt that makes these cookies unique.
- Sour Cream: A few tablespoons add moisture and richness, keeping the texture soft rather than crisp.
- Cream of Tartar: This old-school ingredient interacts with the baking soda to give the cookies a slight lift and a tender crumb.
- Flour: Good old-fashioned all-purpose flour provides the structure. I prefer unbleached, but standard all-purpose works just fine.
- Frosting Components: You will need plenty of butter, sour cream, and powdered sugar to whip up the signature creamy topping.
How to Make It
Step 1: Cream the Fats and Sugars
Preheat your oven to 350 degrees F (175 degrees C). In a large stand mixer bowl, combine the softened butter, oil, granulated sugar, and powdered sugar. Sprinkle the baking soda, cream of tartar, and salt over the top. Beat this mixture for 1–2 minutes until it is incredibly creamy and smooth. This step aerates the dough and sets the stage for a light texture.
Step 2: Add Wet Ingredients
Add the sour cream, eggs, and vanilla extract to the bowl. Mix again for 1–2 minutes until everything is well combined. Make sure to scrape down the sides of the bowl so no butter pockets remain at the bottom.
Step 3: Incorporate the Flour
Gradually add the flour to the wet mixture. Mix just until no dry streaks remain. It is vital not to overmix at this stage, or you risk developing too much gluten, which leads to tough cookies. The dough should be soft but workable.
Step 4: Scoop and Press
Scoop the dough into balls using a 3-tablespoon scoop (about the size of a golf ball) and place them on parchment-lined baking sheets. Pour some granulated sugar into a shallow dish. Lightly spray the bottom of a flat glass with cooking spray, then dip it into the sugar. Press each dough ball down until it is about 1/4 to 1/2 inch thick. The edges will crack and ruffle—that is exactly what we want!
Step 5: Bake and Cool
Bake for 7–9 minutes. The key here is to pull them out when the edges are just set but not browned. The centers might look slightly underbaked, but they will firm up as they cool on the pan. Let them cool completely before frosting.
Step 6: Frost and Decorate
Whip the frosting ingredients together until smooth and fluffy. Spread a generous layer over each cooled cookie and top with sprinkles if desired.
Teresa’s Tips for Success

- Watch the Color: These cookies are meant to be pale. If they start turning golden brown on the edges, they may end up too crisp. Trust the timer and the matte look of the dough surface.
- The Glass Trick: If your glass starts sticking to the dough, simply re-dip it in the granulated sugar before every single press. You generally only need to spray the glass with oil once at the very beginning.
- Room Temperature Matters: Ensure your butter and eggs are at room temperature before you start. This allows them to emulsify properly with the oil, creating a uniform dough structure. If you love mastering texture, you might also enjoy the technique behind our bakery-style chocolate chip cookies, which rely on similar temperature rules.
Build On This Base
Once you have mastered the foundation, you can get creative with flavors and toppings:
- Citrus Twist: Add a tablespoon of lemon or lime zest to the dough and replace the vanilla in the frosting with fresh citrus juice for a bright, tangy version.
- Almond Joy: Swap the vanilla extract in the frosting for almond extract. It gives a lovely, wedding-cake-style flavor that pairs beautifully with the buttery base.
- Holiday Colors: The pale dough and white frosting are a blank canvas. Tint the frosting with gel colors to match any holiday theme. If you love experimenting with trendy cookie styles, you should try our crumbl cookie recipe copycat for another fun baking project.
How to Serve

These cookies are traditionally served slightly chilled, which makes the frosting firm and fudgy while keeping the cookie base dense and soft. They are fantastic for parties because you can stack them once the frosting crusts over slightly.
A cold glass of milk is the classic accompaniment, but they also pair beautifully with coffee or tea. Arrange them on a large platter for a stunning presentation; they look wonderful alongside Italian Christmas cookies for a diverse and festive holiday spread.
The Sweet Foundation
There is something deeply satisfying about pulling a tray of these pale, ruffly cookies out of the oven. They are a testament to the fact that simple ingredients, when treated with care and respect, can produce extraordinary results. Whether you are baking for a crowd or just filling the cookie jar, this recipe offers a reliable base that never disappoints.
These gems easily join the ranks of our ultimate cookie favorites. For those interested in the origins of this style, this recipe is often inspired by the wonderful version found at Mel’s Kitchen Cafe, a true classic in the baking world. Now, go preheat that oven and enjoy the process!
Share your baking success with us on Pinterest, Facebook, or Instagram.

