There is a quiet magic in the way a kitchen smells when real butter and creamy peanut butter meet in a warm mixing bowl. I have always believed that the most spectacular cookies start with a humble, reliable foundation that stands the test of time. These Soft Peanut Butter Cookies are the heart of that belief, offering a tender crumb that holds up to any memory you choose to make with them.

This particular recipe focuses on the balance of fats to make sure every bite is melt-in-your-mouth soft rather than crumbly or dry. By using a specific creaming method and a generous touch of real vanilla, we create a base that is rich, nostalgic, and perfectly chewy. It is the kind of cookie that reminds you why we started baking in the first place—to share something genuine with the people we love.
The Foundation of a Perfect Cookie
You will love these Soft Peanut Butter Cookies because they skip the marketing fluff and focus on what actually matters: the texture. Many peanut butter treats end up dry, sandy, or unpleasantly crunchy, but this version stays pillowy and tender for days. It is a sturdy enough dough to handle being the base for a loaded masterpiece, yet flavorful enough to stand entirely on its own.
The secret lies in the moisture content provided by the brown sugar and the way the fats are emulsified during the mixing process. This recipe represents the timeless tradition of simple ingredients treated with respect. Whether you are looking for a quick afternoon snack or a reliable dough to use for your wilder baking experiments, this is the classic perfection you have been searching for. It proves that once you nail the dough, the possibilities for fun are endless.
Print
Soft Peanut Butter Cookies
- Total Time: 24 mins
- Yield: 24 cookies
- Diet: Vegetarian
Description
Experience a nostalgic treat with these ultra-soft peanut butter cookies that offer a tender crumb and a melt-in-your-mouth texture. This reliable recipe focuses on the perfect balance of fats and sugars, ensuring your cookies stay pillowy and flavorful for days.
Ingredients
- 1 cup (250g) Creamy Peanut Butter
- 1/2 cup (113g) Unsalted Butter, room temperature
- 1/2 cup Granulated Sugar
- 1/2 cup Brown Sugar
- 1 Large Egg, room temperature
- 1 tablespoon Real Vanilla Extract
- 1 1/2 cups (188g) All-Purpose Flour
- 1 teaspoon Baking Powder
- 1/2 teaspoon Salt
Instructions
- Preheat your oven to 350°F (175°C) and line two large baking pans with parchment paper or silicone mats.
- In a large mixing bowl or stand mixer, cream together the peanut butter, softened butter, white sugar, and brown sugar on medium speed for 2-3 minutes until fluffy.
- Mix in the egg and vanilla extract on medium-low speed until well combined, scraping down the sides of the bowl.
- In a separate bowl, whisk together the flour, baking powder, and salt, then gradually add to the wet ingredients on low speed until just incorporated.
- Scoop the dough into 1-inch balls, roll in extra granulated sugar if desired, and place 2 inches apart on the prepared sheets.
- Press each ball with a fork in a criss-cross pattern to flatten slightly.
- Bake for 8 to 9 minutes, letting them rest on the pan for 5 minutes before transferring to a wire rack to cool completely.
Notes
To achieve the best results, use a standard stabilized peanut butter brand rather than a natural oily variety to ensure the dough remains consistent and easy to handle. If your kitchen is warm, try chilling the dough balls for 20 minutes before baking to prevent excess spreading and lock in that soft, thick texture.
- Prep Time: 15 mins
- Cook Time: 9 mins
- Category: Dessert
- Method: Baking
- Cuisine: American
Quality Ingredients for Better Baking

To get that signature soft texture, we must pay attention to our foundation. Starting with the right ingredients at the right temperatures is the first step toward cookie success.
- Creamy Peanut Butter (1 cup / 250g): For this recipe, I recommend a standard commercial brand like Jif or Skippy. These brands are stabilized, which helps the cookies keep their shape and prevents them from becoming too oily or crumbly.
- Unsalted Butter (1/2 cup / 113g): Always start with room-temperature butter—around 65°F (18°C). It should be soft enough to indent with your finger but not greasy or melting. This makes all the difference in achieving a light, airy crumb.
- Granulated and Brown Sugar (1/2 cup each): The white sugar provides crisp edges and sweetness, while the brown sugar adds moisture and a hint of molasses depth that keeps the center soft.
- Large Egg: Your egg should also be at room temperature to make sure it incorporates smoothly into the butter and sugar mixture without curdling the batter.
- Real Vanilla Extract (1 tablespoon): Please use the good stuff. High-quality vanilla carries the foundation of the flavor and balances the saltiness of the peanut butter.
- All-Purpose Flour (1 1/2 cups / 188g): Measure your flour using the spoon-and-level method to avoid packing it down. Too much flour is the number one reason for dry, tough cookies.
- Baking Powder and Salt: These provide the necessary lift and brighten every single flavor note in the dough.
The Classic Method
Step 1: Prepare Your Kitchen
Preheat your oven to 350°F (175°C). Line two large baking pans with parchment paper or silicone mats. This helps with even browning and prevents the cookies from sticking to the metal.
Step 2: The Creaming Method
In a large mixing bowl or the bowl of a stand mixer, combine the creamy peanut butter, softened butter, white sugar, and brown sugar. Beat them together on medium speed for about 2-3 minutes until the mixture is smooth, pale, and fluffy. This step builds the air pockets that result in a tender cookie.
Step 3: Incorporating Aromatics
Add the egg and the tablespoon of vanilla extract to the creamed mixture. Continue to mix on medium-low speed until well combined. Scrape down the sides of the bowl with a rubber spatula to make sure no butter streaks remain at the bottom.
Step 4: Sifting and Folding
In a separate small bowl, whisk together the flour, baking powder, and salt. Turn your mixer to its lowest setting and gradually add the dry ingredients to the wet mixture. Mix just until the flour disappears. Overmixing at this stage will develop gluten and make your cookies tough.
Step 5: Shaping and Sugaring
Use a cookie dough scoop to portion out 1-inch balls of dough. If you want a little extra sparkle, roll each ball in a small bowl of granulated sugar. Place the balls on the prepared baking sheets, leaving about 2 inches of space between each one.
Step 6: The Traditional Mark
Using a fork, gently press down on each ball of dough to flatten it slightly. Rotate the fork 90 degrees and press again to create the iconic criss-cross pattern. This helps the cookies bake evenly and gives them that classic look we all cherish.
Step 7: The Gentle Bake
Bake for 8 to 9 minutes. The cookies will look slightly underdone and soft in the middle, but they will firm up as they cool. Do not overbake! Let them rest on the baking sheet for 5 minutes before moving them to a wire rack to cool completely.
Dough Wisdom

One of the best secrets I can share for these Soft Peanut Butter Cookies is the importance of dough temperature. If your kitchen is particularly warm, try chilling the dough balls for 20 minutes before baking. This helps the fats solidify, preventing the cookies from spreading too thin in the oven. For those who love a massive, bakery-style look, you can even use this dough as a base for a Crumbl copycat style creation by making the portions larger and adding extra toppings.
Another tip is to check your oven temperature with a separate thermometer. Most home ovens are off by 10 to 20 degrees, and since peanut butter cookies bake so quickly, even a small difference can lead to a dry result. If you find your cookies are coming out too hard, try reducing your bake time by 60 seconds. Remember, the carryover heat from the baking sheet is what finishes the cooking process. Patience during the cooling phase is just as important as the mixing phase.
Build On This Base
Once you have mastered this foundational dough, you can start to get creative with your additions. I love to press a chocolate kiss into the center immediately after baking to turn these into classic peanut butter blossoms. The warmth of the cookie melts the chocolate just enough to make it decadent.
You can also fold in 1/2 cup of semi-sweet chocolate chips or chopped peanut butter cups for a loaded monster version. If you prefer a salty-sweet balance, sprinkle a tiny pinch of flaky sea salt over the criss-cross patterns before they go into the oven. This dough is strong enough to hold heavy mix-ins like M&Ms or crushed pretzels, making it a perfect starting point for any kitchen-sink style treat you can imagine.
Classic Enjoyment

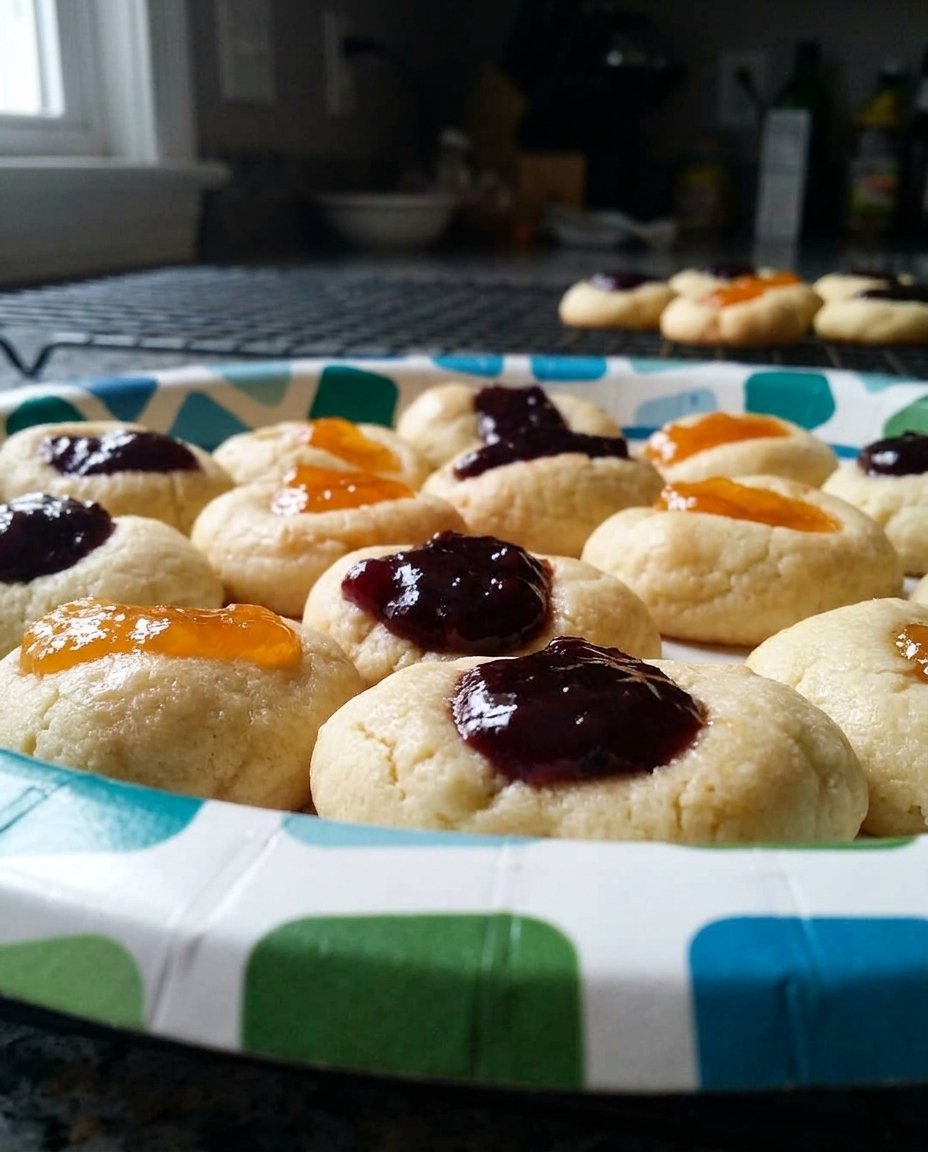
There is nothing quite like a warm peanut butter cookie served with a tall, cold glass of milk. It is a tradition that has stayed in my family for generations. These cookies are also wonderful when crumbled over a bowl of vanilla bean ice cream. If you are looking for a variety of textures for a party platter, try pairing these with some chocolate no bake cookies for a beautiful contrast of flavors and styles.
For a truly special treat, you can use two of these cookies to create a sandwich. Fill them with chocolate ganache or a marshmallow fluff cream. Because the dough is so soft, it won’t squeeze the filling out the sides when you take a bite. These are best enjoyed within three days of baking, but they also freeze beautifully for those moments when you need a quick homemade comfort snack.
The Sweet Foundation
Baking these Soft Peanut Butter Cookies is about more than just satisfying a sweet tooth; it is about honoring the techniques that make home baking so special. I hope this recipe becomes a staple in your kitchen and a foundation for many happy memories. If you find yourself craving something different for the next season, don’t miss our chewy pumpkin cookies which offer a similar melt-in-your-mouth experience with a spicy twist.
I would love to see how your cookies turned out and what wild toppings you decided to add! Please share your baking journey with our community on Facebook, Instagram, or Pinterest. Happy baking, and remember that a good dough is the start of every great story.


