A good cookie starts with a solid foundation, and there is nothing more nostalgic than the classic combination of graham crackers and toasted marshmallows. I have always believed that the best recipes are the ones that remind us of sitting around a campfire, even if we are just in our own warm kitchens. To make these work, you have to treat the dough with respect so it can handle all those gooey mix-ins.

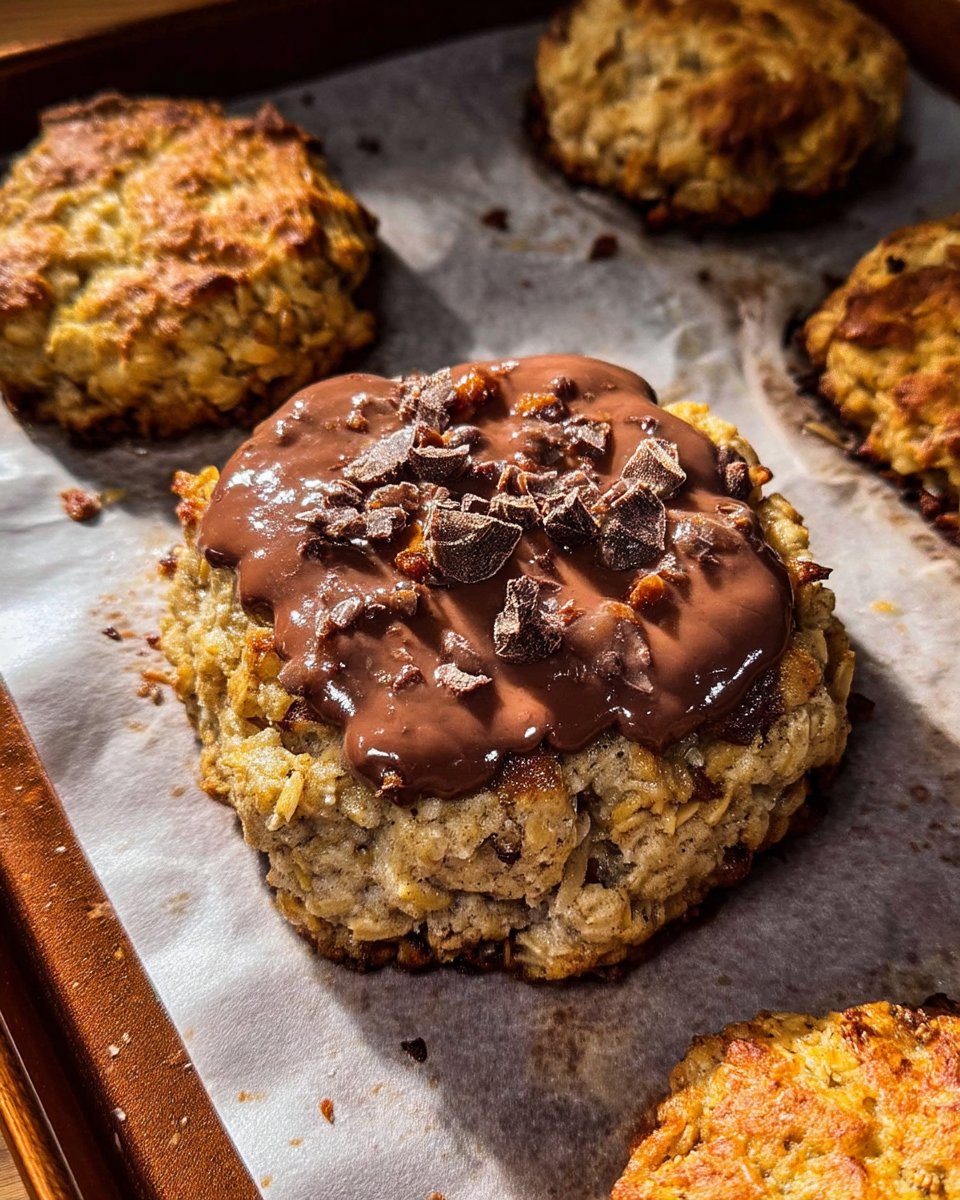
These Smore Cookies take that traditional campfire spirit and wrap it in a buttery, tender dough that holds everything together perfectly. You get the crunch of the crackers, the pull of the marshmallow, and that signature chocolate melt in every single bite. It is a recipe that proves once you nail the dough, you can go truly wild with the toppings and still have a cookie that stands the test of time.
The Classic Campfire Foundation
There is something deeply comforting about a recipe that brings together the textures we loved as children with the professional technique of a seasoned baker. These cookies are a treasure because they do not just taste like sugar; they taste like a well-crafted dessert where every element has a purpose. The base is a rich, buttery dough that stays soft for days, providing the perfect stage for the more chaotic ingredients like marshmallows and graham cracker chunks.
I love these because they are reliable. Many s’mores-themed treats end up as a sticky mess that falls apart, but this foundation is strong. The edges get just a little bit crisp, while the center stays tender and chewy. It is the kind of cookie that makes people stop and ask for the recipe because the balance is just right. You are getting that genuine campfire experience without needing a tent or a fire pit.
Finally, this recipe is a celebration of quality. By using real butter and a touch of cornstarch, we create a crumb that is far superior to anything you would find in a box. It is a wonderful way to show your family that you care about the details. When you bite into a cookie that has been chilled and prepared with patience, you can really taste the difference that technique makes.
Print
Smore Cookies
- Total Time: 1 hour 26 mins
- Yield: 12 cookies
Description
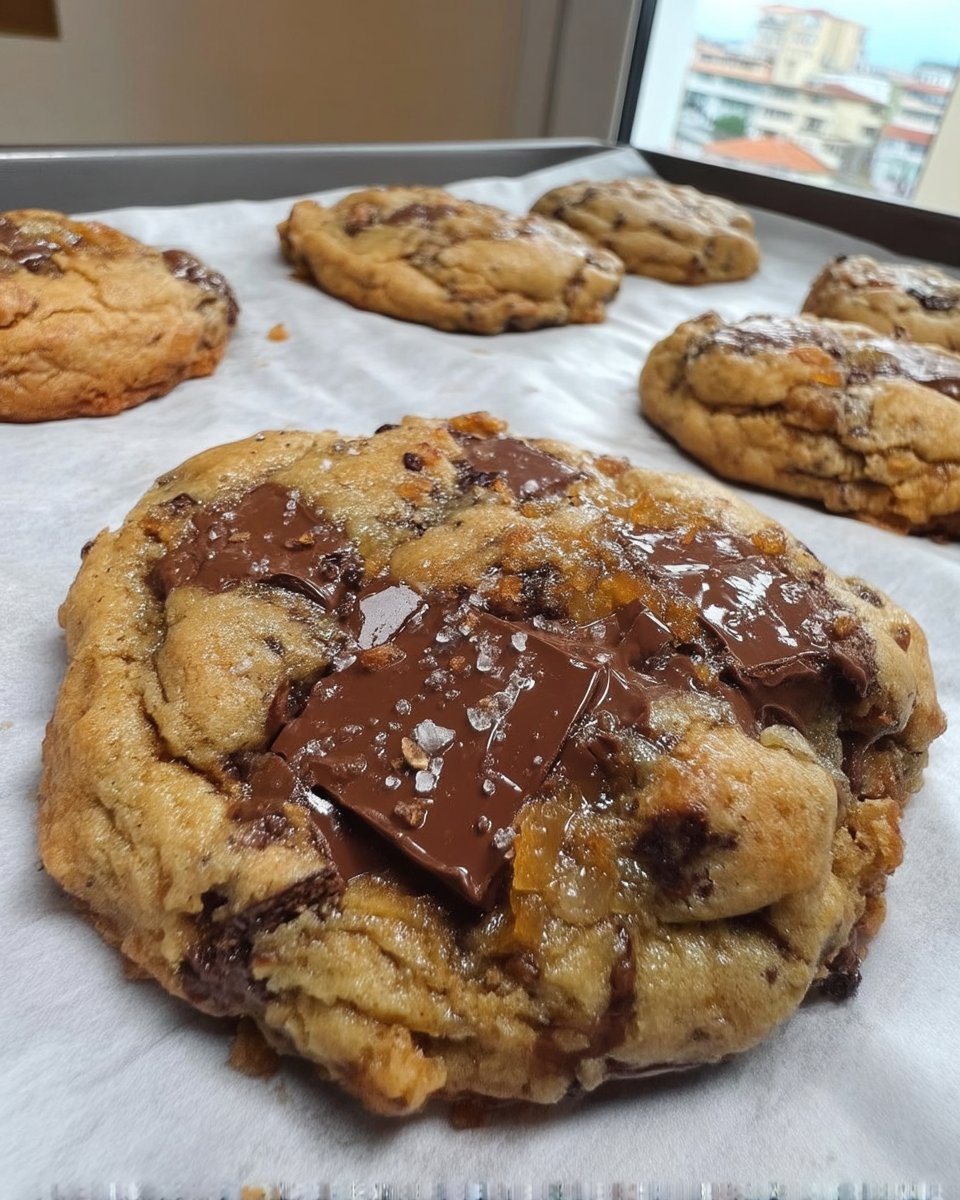
Experience the nostalgia of a campfire with these chewy, butter-based cookies loaded with toasted marshmallows, graham cracker bits, and melty Hershey’s chocolate. These treats feature a sturdy dough that balances sweet and salty perfectly for a gourmet twist on a classic snack.
Ingredients
- 10 tbsp (142g) unsalted butter, room temperature
- 1/4 cup (50g) granulated sugar
- 1/2 cup (100g) light brown sugar
- 1 1/2 cups (180g) all-purpose flour
- 1 tsp cornstarch
- 1/2 tsp baking powder
- 1/2 tsp baking soda
- 1/2 tsp salt
- 1 large egg
- 1 tsp vanilla extract
- 1 cup mini marshmallows, torn in half
- 4 graham crackers, roughly chopped
- 1.55oz (43g) Hershey’s chocolate bar, chopped
Instructions
- Roughly chop the Graham crackers and the Hershey’s bar into bite-sized pieces. Tear the mini marshmallows in half, setting aside a small handful of marshmallows and chocolate pieces for topping later.
- In a medium bowl, whisk together the all-purpose flour, salt, baking powder, baking soda, and cornstarch until well combined.
- Using a stand mixer or hand mixer, beat the room-temperature butter with the granulated and light brown sugars for about 2 minutes until the mixture is pale and creamy.
- Add the egg and vanilla extract to the mixture and beat until fully combined, scraping down the sides of the bowl with a spatula to ensure an even mix.
- Turn the mixer to the lowest speed and gradually add the flour mixture, mixing only until the white streaks disappear to avoid over-working the dough.
- Fold in the marshmallows, chocolate pieces, and chopped Graham crackers using a spatula or the mixer on low speed until evenly distributed.
- Cover the dough and refrigerate for at least one hour to allow the flour to hydrate and the butter to firm up.
- Preheat your oven to 350°F (175°C) and line a baking sheet with parchment paper.
- Portion the dough into balls (roughly two tablespoons each) and place them on the prepared baking sheet about 2 inches apart.
- Bake the cookies for 8 minutes, then remove the tray and quickly press the reserved marshmallow and chocolate pieces into the tops of the warm cookies.
- Return the cookies to the oven for another 2 to 3 minutes, then let them cool on the baking sheet for 10 minutes before transferring to a wire rack.
Notes
To prevent the marshmallows from sticking to the baking sheet, ensure they are tucked into the dough or placed on top of the cookie rather than touching the parchment directly. If you prefer a more golden, toasted marshmallow look, you can briefly use a kitchen torch on the tops after baking, but watch them closely to avoid burning the delicate cookie base.
- Prep Time: 1 hour 15 mins
- Cook Time: 11 mins
- Category: Dessert
- Method: Baking
- Cuisine: American
Quality Ingredients for a Strong Base

Before we get to the fun part, we have to talk about what goes into the bowl. A cookie is only as good as its ingredients, and for a loaded monster like this, you want the best you can find.
- Unsalted Butter (10 tbsp / 142g): It must be room temperature. This is the heart of your cookie. Using quality butter provides that rich flavor and helps the sugars cream together for a light, airy structure.
- Granulated Sugar (1/4 cup / 50g) and Light Brown Sugar (1/2 cup / 100g): This duo gives us the best of both worlds—sweetness for browning and moisture for chewiness.
- All-Purpose Flour (1 1/2 cups / 180g): This provides the structure. Be sure to measure it correctly by weight or by the spoon-and-level method so your cookies do not end up dry.
- Cornstarch (1 tsp): This is my secret for a tender crumb. It keeps the cookies soft and prevents them from becoming too tough.
- Mini Marshmallows (1 cup): I like to tear these in half. It helps them melt into the dough without causing a massive ‘blowout’ during the baking process.
- Graham Crackers (4 crackers / 56g): Roughly chopped. They provide the necessary crunch and that honey-sweet flavor that defines a s’more.
- Hershey’s Chocolate Bar (1.55oz / 43g): While chips are great, the classic bar gives you those pools of melty chocolate that feel truly authentic.
- Vanilla Extract (1 tsp): Use the real stuff. It rounds out the flavors and makes the butter taste even better.
The Classic Method for Smore Cookies
Step 1: Prep Your Mix-ins
Roughly chop the Graham crackers and the Hershey’s bar into bite-sized pieces. Take your mini marshmallows and tear them in half. This is a small step, but it is vital. If the marshmallows are too large, they will puff up too much in the oven and ruin the shape of your beautiful cookie. Set a handful of marshmallows and chocolate pieces aside to use for topping later.
Step 2: Whisk the Dry Ingredients
In a medium bowl, combine your all-purpose flour, salt, baking powder, baking soda, and cornstarch. Whisk these together until they are well combined. This makes sure that the leavening agents are distributed evenly so every cookie rises exactly the same way.
Step 3: Cream the Butter and Sugars
Using your stand mixer or a hand mixer, beat the room-temperature butter with the granulated and light brown sugars. You want to do this for about 2 minutes until the mixture looks pale and creamy. This process incorporates air, which is the foundation of a good cookie structure.
Step 4: Add the Egg and Vanilla
Add in your egg and the vanilla extract. Beat the mixture again until everything is fully combined. Stop the mixer and scrape down the sides of the bowl with a spatula to make sure no butter is hiding at the bottom. Give it one last quick mix.
Step 5: Incorporate the Flour Mixture
Turn your mixer to the lowest speed and gradually add in the flour mixture. Mix just until the white streaks of flour disappear. Over-mixing at this stage will develop too much gluten, making your cookies tough instead of tender.
Step 6: Fold in the Fun
Add the remaining marshmallows, the chocolate chips, and the chopped Graham crackers to the dough. Use a spatula or the mixer on low to fold them in. You want them distributed evenly throughout the dough so every bite is a perfect s’more.
Step 7: The Essential Chill
Cover your dough and place it in the refrigerator for at least one hour. I know it is hard to wait, but chilling the dough allows the flour to fully hydrate and the butter to firm up. This prevents the cookies from spreading too thin in the oven.
Step 8: Shape and Portion
Heat your oven to 350°F (175°C). Line a baking sheet with parchment paper. Take roughly two tablespoons of dough and roll them into balls. Place them on the sheet about 2 inches apart to give them room to breathe.
Step 9: The Two-Stage Bake
Bake the cookies for 8 minutes. Remove the tray from the oven and quickly press your reserved marshmallow halves and Hershey’s pieces into the tops of the warm cookies. Return them to the oven for another 2 to 3 minutes. This keeps the toppings looking beautiful and prevents the marshmallows from disappearing into the dough.
Step 10: Cool and Set
Let the cookies sit on the hot baking sheet for at least 5 to 10 minutes after they come out of the oven. They will be very soft at first and need that time to firm up so they do not break when you pick them up. Transfer them to a wire rack to finish cooling completely.
Teresa’s Dough Wisdom

One of the most important things you can do for your baking is to learn the right way to handle your flour. If you scoop the flour directly with your measuring cup, you will pack it down and end up with far too much, leading to a dry, crumbly cookie. Instead, fluff it with a spoon first, then sprinkle it into the cup and level it off. For more details on getting this right, check out my guide on bakery-style chocolate chip cookies.
If you find that your marshmallows have caused a ‘blowout’ where the cookie loses its round shape, do not panic. As soon as they come out of the oven, take a large round cookie cutter or a bowl and place it over the cookie, then gently scoot it in a circular motion. This will corral the edges back into a perfect circle while the dough is still soft. Also, if you want to see how other professionals handle dough ratios, Preppy Kitchen has some great insights on texture.
Build On This Base
You can take this foundation and make it your own in so many ways. If you want a deeper, nuttier flavor, try browning your butter before you start the recipe. Just make sure to let it solidify back to a soft room temperature before creaming it with the sugars. You can also sprinkle a little bit of sea salt on top right after baking to cut through the sweetness of the marshmallows.
If you are feeling extra creative, you could use this same dough base to create cookies and cream cookies by swapping the Graham crackers for Oreo pieces. This dough is strong enough to hold almost any candy or cookie bit you throw at it. You could even stuff a whole Reese’s cup inside the dough ball for a peanut butter s’mores twist that will have everyone reaching for seconds.
Share the Love

These Smore Cookies are best served slightly warm so the marshmallows stay stretchy and the chocolate stays melty. I love serving these on a big wooden platter for a family gathering, maybe alongside a cold glass of milk or a hot cup of coffee. They are a wonderful addition to any party where you want to bring a bit of that outdoor nostalgia inside.
If you are looking for a quicker treat that doesn’t require the oven, you might also enjoy my chocolate no bake cookies. They have that same comforting chocolate flavor but are ready in half the time. Whether you are sharing these at a backyard BBQ or as an after-school snack, they are bound to create happy memories for everyone involved.
The Sweet Foundation
Baking is about more than just following a recipe; it is about building a foundation of skills that allow you to create something truly special for the people you love. These Smore Cookies are the perfect example of how a classic technique can support a wild and fun idea. I hope you find as much joy in making these as you do in eating them. If you enjoyed this recipe, you might want to try my Crumbl cookie recipe copycat for another fun twist on a modern classic.
I would love to see your beautiful creations! Please share your photos and tag me so I can celebrate your baking success with you. You can find more inspiration and community on Pinterest, Instagram, and Facebook. Keep baking, keep learning, and always remember that a good dough is the heart of every great cookie.
