There is a special kind of magic in the old ways of baking that modern shortcuts just cannot replicate. I remember my grandmother standing over a bubbling pot of oil, her hands steady as she transformed a simple liquid batter into these intricate, lace-like Rosettes. It taught me that a solid foundation of patience and the right technique is what makes a holiday kitchen truly come alive.

These delicate Scandinavian treats are more than just fried dough; they are a testament to how simple ingredients like flour and eggs can create something extraordinary. By mastering the heat of the oil and the timing of the dip, you can create a mountain of golden, crispy cookies that disappear faster than you can dust them with sugar. Let’s look at how to get this classic base exactly right before you start your own family traditions.
The Foundation of a Holiday Tradition
You will fall in love with these Rosettes because they offer a texture that is unlike any other cookie in your repertoire. They are impossibly light, offering a satisfying shatter with every bite that feels like a celebration in your mouth. Unlike heavy, doughy fried foods, a well-made rosette is ethereal and delicate, holding its shape with a architectural beauty that looks far more complicated than it actually is.
Another reason these are a treasure is the sheer joy of the process. There is something deeply grounding about the rhythm of dipping the iron, hearing the sizzle, and watching the batter bloom into a flower in the hot oil. It is a slow, methodical way of baking that connects you to generations of home bakers who did the same. These cookies are perfect for those who want a reliable, traditional base that still manages to impress every single person at the dessert table.
Print
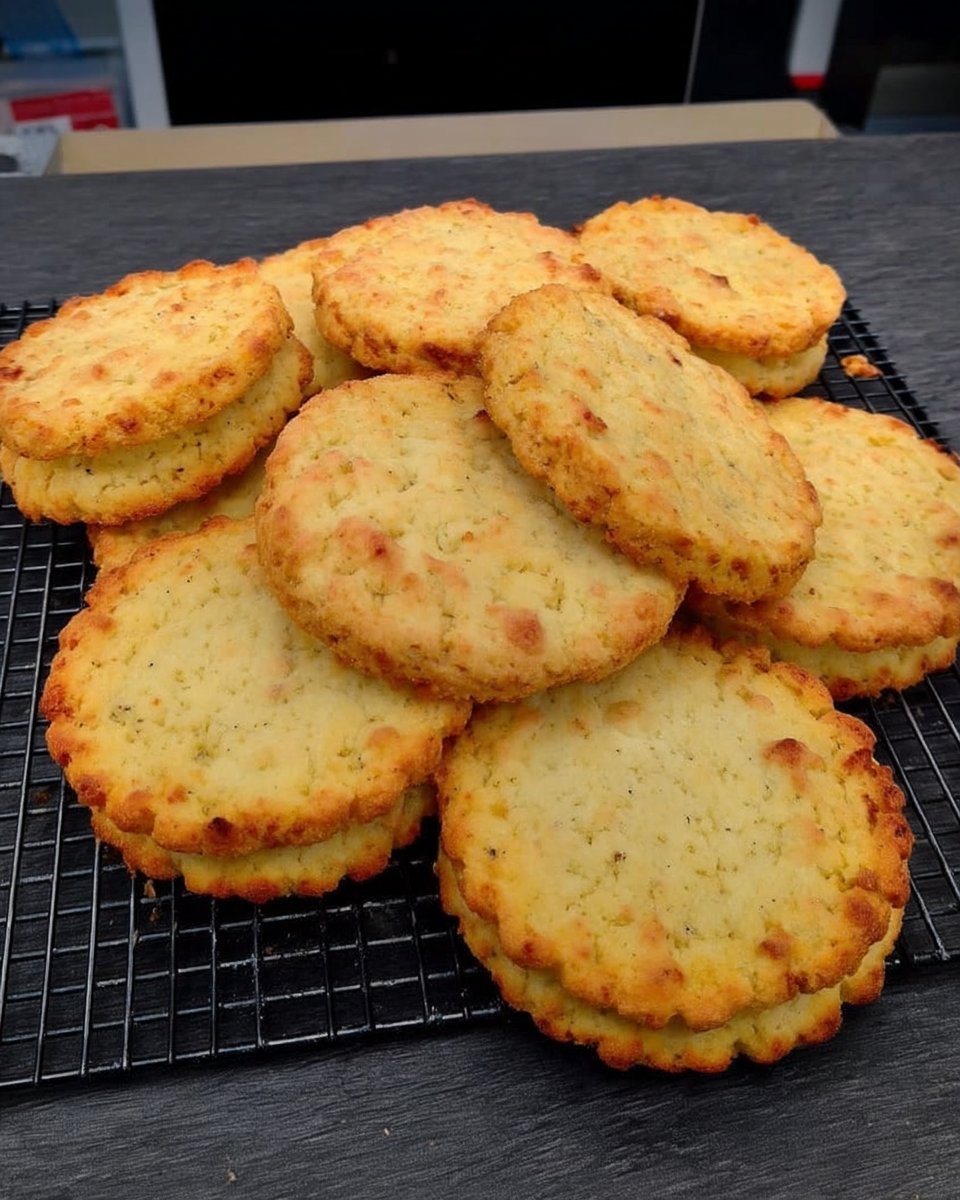
Rosettes
- Total Time: 40 mins
- Yield: 36 cookies
- Diet: Vegetarian
Description
These traditional Scandinavian Rosettes are delicate, lace-like cookies that offer a satisfyingly light and crispy texture. Deep-fried to a perfect golden brown and finished with a dusting of confectioners’ sugar, they make a stunning and elegant addition to any holiday dessert table.
Ingredients
- 2 large eggs, room temperature
- 1 tablespoon white sugar
- 1/4 teaspoon salt
- 1 cup all-purpose flour, sifted
- 1 cup whole milk
- 1 teaspoon vanilla extract
- Vegetable oil, for frying
- Confectioners’ sugar, for dusting
Instructions
- In a large mixing bowl, beat the eggs, sugar, and salt together until well combined and slightly frothy.
- Gradually whisk in the sifted flour, milk, and vanilla extract, beating until the mixture is completely smooth with no remaining lumps.
- Heat approximately 2 inches of vegetable oil in a large, deep skillet or heavy-bottomed pot to a steady temperature of 375°F (190°C).
- Place the rosette iron into the hot oil for at least 2 minutes to season and heat the metal before frying.
- Lift the hot iron, drain off excess oil, and dip it into the batter so that it reaches 3/4 of the way up the sides, ensuring the batter does not cover the top of the iron.
- Immediately plunge the batter-coated iron into the hot oil and fry for about 30 seconds until the rosette is crisp and a very light golden brown.
- Lift the iron, tip it to drain excess oil, and use a fork to gently push the cookie off the iron onto a wire rack lined with paper towels.
- Let the iron reheat in the oil for one full minute between cookies and sprinkle the cooled treats generously with confectioners’ sugar before serving.
Notes
For the most consistent results, always use a thermometer to maintain the oil at exactly 375°F, as temperature fluctuations can lead to greasy or burnt cookies. If the batter is not sticking to the iron, ensure the iron is hot enough and quickly tap it on a paper towel after removing it from the oil to remove excess grease before dipping. These fragile cookies are best stored in an airtight container with parchment paper between layers to maintain their signature crunch.
- Prep Time: 10 mins
- Cook Time: 30 mins
- Category: Dessert
- Method: Deep Frying
- Cuisine: Scandinavian
Quality Ingredients for a Reliable Batter

To get the perfect crispness, you must start with the right components. This batter is thin, almost like a crepe batter, and each ingredient plays a vital role in the final structure.
- Large Eggs: These provide the essential structure and leavening. Use room-temperature eggs to make sure they incorporate smoothly into the milk.
- White Sugar: Just a touch of sweetness is needed in the batter itself, as most of the flavor comes from the topping and the buttery crunch of the fried dough.
- All-Purpose Flour: Sifting your flour is not optional here. A smooth, lump-free batter is the secret to a rosette that releases perfectly from the iron.
- Whole Milk: This adds a richness to the dough that water simply cannot provide. It creates a tender crumb inside the crispy shell.
- Vanilla Extract: Use a high-quality real vanilla to give the background of the cookie a warm, comforting aroma.
- Vegetable Oil: You need an oil with a high smoke point for frying. I prefer peanut oil or a high-quality vegetable oil to keep the flavor neutral.
The Classic Method for Frying Rosettes
Step 1: Gathering and Mixing
Start by gathering all your ingredients so you aren’t rushing once the oil is hot. In a large mixing bowl, beat the eggs, sugar, and salt together until they are well combined and slightly frothy. Gradually whisk in the sifted flour, milk, and vanilla extract. You want to beat this until the mixture is completely smooth with no remaining lumps. If you have time, let the batter sit for 30 minutes to allow the air bubbles to settle, which helps the batter stick better to the iron.
Step 2: Preparing the Frying Station
Heat about 2 inches of oil in a large, deep skillet or a heavy-bottomed pot. You want to reach a steady temperature of 375 degrees F (190 degrees C). Use a clip-on thermometer to keep a close eye on this; if the oil is too cold, the cookies will be greasy, and if it is too hot, they will burn before they are cooked through. Place a wire rack over a layer of paper towels nearby to catch any drips.
Step 3: Seasoning the Iron
This is a vital part of the technique. Place your rosette iron into the hot oil for at least 2 minutes before you start. The iron needs to be just as hot as the oil so the batter partially cooks the moment it touches the metal. This is what creates the bond that allows the cookie to travel into the oil without falling off too early.
Step 4: Dipping and Frying
Lift the hot iron and let the excess oil drain off for a second. Dip the iron into the batter, making sure you only go about 3/4 of the way up the sides. Do NOT let the batter cover the top of the iron, or the cookie will be stuck forever! Immediately plunge the batter-coated iron into the hot oil. Fry for about 30 seconds until the rosette is crisp and a very light golden brown.
Step 5: Releasing and Cooling
Lift the iron out of the oil and tip it upside down for a moment to drain the oil from the crevices. Use a fork to gently push the rosette off the iron and onto your prepared wire rack. Let the iron reheat in the oil for a full minute between each cookie to maintain the proper temperature. Once the cookies are cool enough to handle, sprinkle them generously with confectioners’ sugar.
Foundation Secrets for Perfect Rosettes

The most common struggle with Rosettes is the batter falling off the iron or sticking too tightly. To fix this, always make sure your iron is bone-dry and hot before it hits the batter. If the batter is sliding off, your iron might be too oily; give it a quick tap on a paper towel before dipping. For more advice on managing holiday bakes, check out our guide on festive cookie moments.
Temperature control is your best friend in this process. If you find the cookies are browning too quickly, lower the heat slightly, but never let it drop below 350 degrees F. You can find more technical details on frying temperatures in this classic rosette guide. Always remember to store these in an airtight container with pieces of parchment paper between the layers to keep them from breaking, as they are very fragile.
Build On This Base With Creative Twists
Once you have mastered the classic vanilla batter, you can begin to add your own flair to the foundation. Swap the vanilla extract for almond or lemon extract for a bright, citrusy finish. You can also mix a teaspoon of cinnamon into your confectioners’ sugar for a warm, spiced topping that feels like a cozy winter afternoon. If you enjoy these delicate textures, you might also love our butter spritz cookies, which use a similar press-based technique.
For a more modern take on this old-world favorite, try dipping half of the cooled, fried rosette into melted dark chocolate and then topping it with crushed pistachios or dried raspberries. This adds a beautiful color contrast and a layer of richness that complements the light batter perfectly. You can even add a tablespoon of cocoa powder to the dry ingredients for a chocolate version of the dough, though you may need to add a splash more milk to keep the consistency correct.
Sharing the Joy of Golden Rosettes

Serving Rosettes is all about the presentation. They look stunning when piled high on a vintage glass platter, dusted with a fresh coating of sugar right before the guests arrive. They are the perfect companion to a strong cup of coffee or a glass of cold milk. If you are looking for more traditional treats to fill out your dessert spread, consider adding some kourabiedes for a variety of textures and heritage flavors.
These cookies are best enjoyed the day they are made, as the moisture in the air can eventually soften the delicate crunch. If you are serving them at a party, keep them away from any steam or heat sources. For a truly special touch, serve them alongside a bowl of fresh whipped cream and some tart lingonberry jam, allowing guests to dip the crispy edges into the cream for a classic Scandinavian experience.
The Sweet Foundation of Family Memories
Building a tradition takes time and a bit of practice, but the reward is a kitchen filled with the scent of vanilla and the sound of loved ones gathered together. These Rosettes prove that when you have a strong foundation of technique, you can create something truly spectacular from the simplest pantry staples. For more traditional inspiration, try our italian christmas cookies to keep the baking spirit alive all season long. Don’t forget to share your beautiful creations with us on Pinterest and Instagram. Happy baking!

