A good cookie isn’t just about the bright color; it is about the heart you put into the dough before it ever hits the oven. I remember watching my grandmother carefully cream the butter until it reached that perfect, pale fluffiness, teaching me that patience is the true secret ingredient in any Red Velvet Cookies 2 recipe. She always insisted that once you have a solid foundation, you can make any cookie shine with your own creative flair.

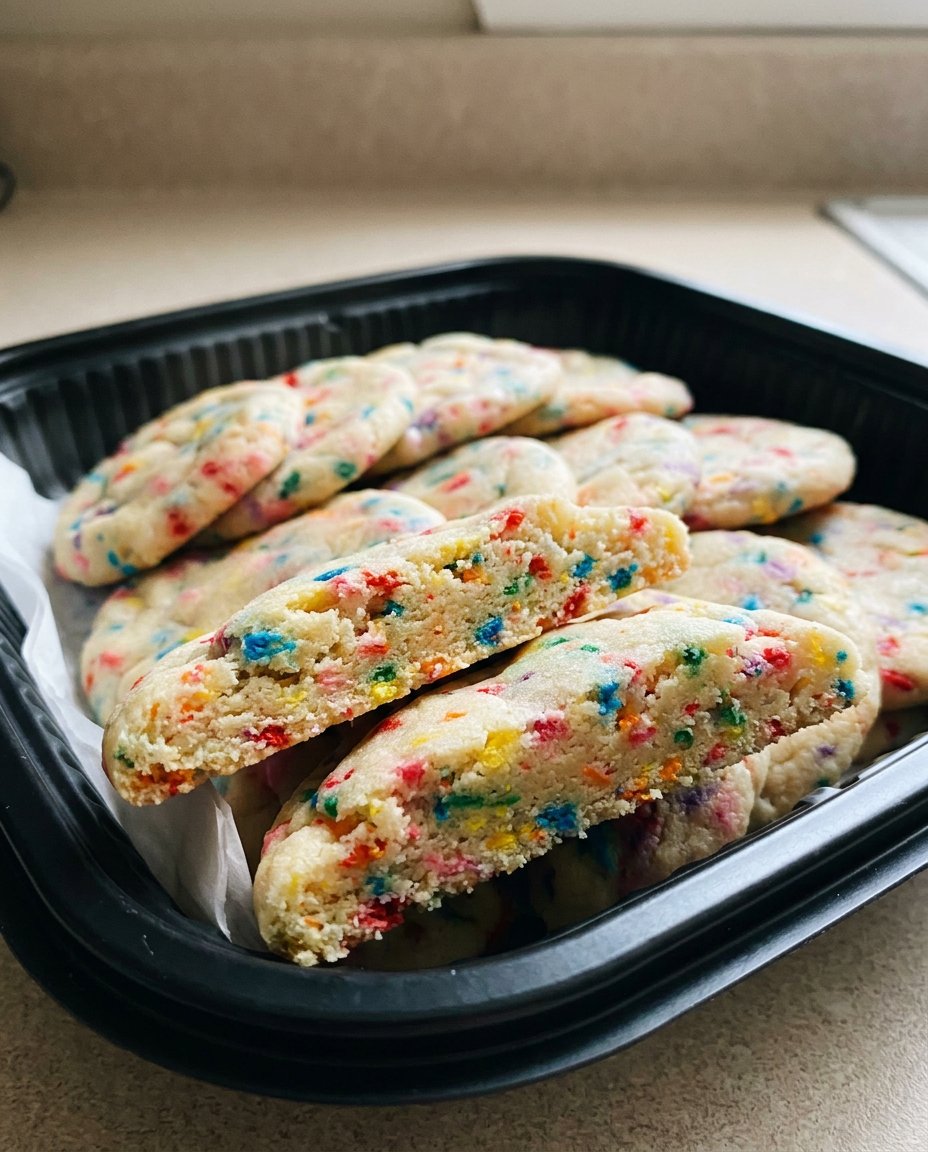
These Red Velvet Cookies 2 are soft, tender, and perfectly balanced with a hint of cocoa and plenty of sweet chocolate chips. While they look like a festive treat, the technique behind them is as traditional as it gets, ensuring a consistent bake and a reliable texture every single time you preheat the oven. When you start with a good dough, the results are always wonderful.
A Foundation of Classic Perfection
You are going to love this recipe because it prioritizes the texture and flavor of the dough above everything else. Many red velvet treats rely solely on food coloring for their identity, but these cookies have a deep, buttery soul that stands on its own. The addition of brown sugar ensures a moist, tender crumb that stays soft for days, while the subtle hint of cocoa provides a sophisticated depth that isn’t too overpowering.
This dough is strong enough to hold a generous amount of chocolate chips, making it a reliable base for those who love a loaded cookie. It is a timeless treat that feels special enough for a holiday platter but simple enough for a Tuesday afternoon snack. By following these foundational steps, you will create a cookie that is both visually stunning and genuinely delicious to the last crumb.
Print
Red Velvet Cookies
- Total Time: 1 hour 27 mins
- Yield: 24 cookies
- Diet: Vegetarian
Description
These vibrant Red Velvet Cookies feature a soft, buttery crumb with a subtle hint of cocoa and a generous amount of chocolate chips. Perfectly balanced and festive, they offer a reliable texture that makes them a classic treat for any occasion.
Ingredients
- Unsalted Butter (room temperature)
- Brown Sugar (light or dark)
- Granulated Sugar
- Unsweetened Natural Cocoa Powder
- Buttermilk or Milk
- Gel Red Food Coloring
- All-Purpose Flour
- Chocolate Chips (white or semi-sweet)
- Large Egg
- Pure Vanilla Extract
- Baking Soda
- Salt
Instructions
- In a medium-sized bowl, whisk together the all-purpose flour, cocoa powder, baking soda, and salt until evenly distributed.
- Using a mixer, beat the softened butter with the brown and granulated sugars on medium speed for at least 3 minutes until creamy and aerated.
- Add the large egg and vanilla extract to the mixture and beat on high speed for about one minute until lightened.
- Turn the mixer to low and slowly add the dry ingredients, milk, and red food coloring, mixing until just combined.
- Gently fold in the chocolate chips using a spatula to ensure they are evenly distributed without breaking.
- Cover the bowl and refrigerate the dough for at least one hour to allow the fats to solidify and flavors to meld.
- Preheat the oven to 350°F (177°C) and scoop 1.5 tablespoon balls of dough onto parchment-lined baking sheets.
- Bake for 11 to 13 minutes, then let the cookies rest on the sheet for 5 minutes before moving them to a wire rack.
Notes
To ensure your cookies have the perfect vibrant hue and ideal texture, always use a high-quality gel food coloring instead of a liquid version, which can alter the moisture balance of the dough. Additionally, make sure your egg is at room temperature before mixing to prevent the creamed butter from curdling, resulting in a much smoother and more consistent bake.
- Prep Time: 15 mins
- Cook Time: 12 mins
- Category: Dessert
- Method: Baking
- Cuisine: American
Quality Ingredients for a Better Base

To make the best Red Velvet Cookies 2, you need to start with high-quality components that work together to create a sturdy yet soft foundation. Every ingredient serves a purpose in building the final texture and flavor profile.
- Unsalted Butter: Start with room-temperature butter—it makes all the difference in how the sugars incorporate. Quality butter provides that rich, authentic flavor we all treasure.
- Brown Sugar: Whether you choose light or dark, this is where the moisture and chewiness come from. It creates a tender crumb that is the hallmark of a great home-baked cookie.
- Unsweetened Natural Cocoa Powder: You only need a little to give these cookies their signature flavor. It provides a foundational earthiness that balances the sweetness.
- Buttermilk or Milk: A single tablespoon might seem small, but it adds a subtle tang and moisture that helps the red velvet flavor truly pop.
- Gel Red Food Coloring: I recommend a gel over liquid for a more vibrant hue without changing the consistency of the dough. It allows the classic color to shine through beautifully.
- All-Purpose Flour: Make sure to spoon and level your flour. Too much flour leads to a cakey, dry cookie, and we want these to be perfectly soft and reliable.
- Chocolate Chips: Use a brand you love. Whether you prefer white chocolate for the contrast or semi-sweet for a deeper flavor, the quality matters.
The Classic Method
Step 1: Whisk the Dry Foundations
In a medium-sized bowl, whisk together your all-purpose flour, cocoa powder, baking soda, and salt. This ensures that the leavening agent is evenly distributed so every cookie rises exactly the same way. Set this mixture aside while you focus on the wet ingredients.
Step 2: Cream the Butter and Sugars
Using your mixer, beat the softened butter with both the brown and granulated sugars on medium speed for at least 3 minutes. This step is vital; you are looking for a creamy, aerated texture that will provide the structure for your cookies. Don’t rush this process, as a good creamed base is the start of a perfect cookie.
Step 3: Incorporate the Flavor
Add the large egg and the pure vanilla extract to the butter mixture. Beat on high speed for about one minute until the mixture is fully combined and looks slightly lightened in color. Remember to scrape down the sides of the bowl to ensure every bit is included.
Step 4: Mix the Dough
Turn your mixer to low and slowly add the dry ingredients into the wet ones. At this point, add your milk and the red food coloring. Mix until just combined; the dough will be quite sticky and vibrant. Be careful not to overmix, as we want to keep the gluten development minimal for a tender bite.
Step 5: Fold in the Chips
Gently fold in your chocolate chips using a spatula or the lowest setting on your mixer. This ensures the chips are evenly distributed throughout the dough without breaking them. If you want your cookies to look extra professional, save a few chips to press into the tops later.
Step 6: The Essential Chill
Cover the bowl and refrigerate the dough for at least one hour. This is a foundational step that prevents the cookies from spreading too thin in the oven. Chilling the dough allows the fats to solidify and the flavors to meld together for a more complex taste.
Step 7: Shape and Bake
Preheat your oven to 350°F (177°C) and line your sheets with parchment. Scoop about 1.5 tablespoons of dough for each cookie and roll them into smooth balls. Place them 3 inches apart and bake for 11 to 13 minutes. The edges should be set, but the centers will still look soft—they will finish setting on the hot pan.
Step 8: Cool and Set
Let the cookies rest on the baking sheet for 5 minutes before moving them to a wire rack. This patience allows the structure to firm up so you don’t end up with broken cookies. Once cooled, they are ready to be shared and enjoyed.
Dough Wisdom for the Home Baker

One of the best foundation secrets I can share is the importance of the creaming stage. Many bakers stop once the butter and sugar are mixed, but you really want to see a change in texture and color to ensure your cookies have the right lift. If you find your cookies aren’t spreading enough, you can gently press them down with the back of a spoon immediately after they come out of the oven.
For those who want to master different textures, understanding how various fats work is key. If you enjoy learning about the science of the dough, you might like reading about our bakery-style-chocolate-chip-cookies-2 which uses similar foundational techniques. Also, for more inspiration on the red velvet profile, you can check out this guide on red velvet chocolate chip cookies from a trusted fellow baker. Always ensure your egg is at room temperature to prevent the butter from curdling when you mix them together.
Build On This Base
Once you have mastered the basic dough, you can start adding your own wild side. This Red Velvet Cookies 2 recipe is a wonderful canvas for creativity. You could try swapping the white chocolate chips for dark chocolate chunks for a more intense flavor profile, or even adding a sprinkle of sea salt on top to balance the sweetness.
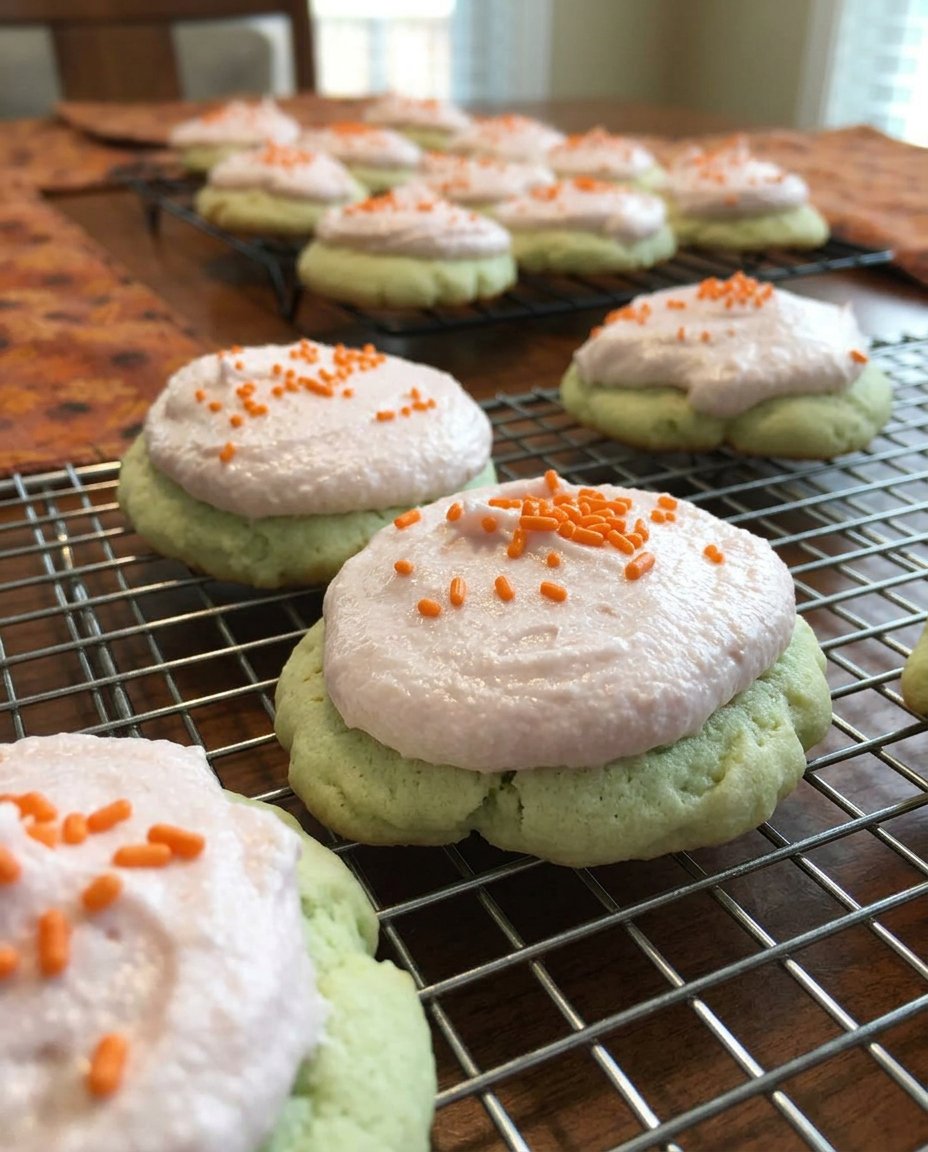
If you want a truly decadent treat, try making cookie sandwiches by piping a little cream cheese frosting between two cooled cookies. This brings that classic cake flavor to a portable form. If you enjoy cookies with a bit of a twist, you might find inspiration in our lemon-crinkle-cookies which also use a soft-baked foundation to achieve a beautiful finish. You could even fold in some crushed pecans or walnuts if you enjoy a bit of a traditional crunch in your red velvet treats.
Classic Enjoyment and Sharing

There is nothing quite like a warm cookie straight from the oven with a cold glass of milk. For a beautiful presentation, arrange these cookies on a white ceramic platter to let the vibrant red color really pop. They are a treasure for holiday parties or as a thoughtful gift for a neighbor who needs a little cheer.
If you are putting together a dessert table, these pair wonderfully with other classic textures. You might consider serving them alongside our cookies-and-cream-cookies for a fun contrast in colors and flavors. Always remember that sharing the love through baking is one of the most grateful things we can do for our friends and family. These cookies stay soft for up to a week if kept in an airtight container at room temperature.
The Sweet Foundation
Baking is more than just following a list of instructions; it is about building traditions and creating memories in the heart of the home. When you take the time to understand the technique behind the dough, you are setting yourself up for a lifetime of successful baking adventures. I hope these cookies bring as much joy to your kitchen as they have to mine over the years.
For more foundational recipes and fun cookie ideas, be sure to look at our crumbl-cookie-recipe-copycat to see how we handle large, loaded treats. I would love to see your beautiful creations, so please share them with us on Instagram, Pinterest, or Facebook. Keep baking with love and focus on that solid foundation—the rest will always follow beautifully.


