I remember the exact moment I decided to stop playing it safe with standard cookies and start breaking the rules with bold colors. Why settle for a boring brown biscuit when you can have a massive, 6-ounce hunk of crimson dough that’s literally bursting at the seams with white chocolate? It’s about taking that

These aren’t your average tea-time snacks; we’re talking thick, gooey, NYC-style powerhouses that demand attention on any dessert table. With a deep hint of cocoa and a mountain of white chocolate chips, these Red Velvet Cookies are the ultimate showstoppers for bakers who believe that more is definitely more.
The Loaded Magic of These Crimson Monsters
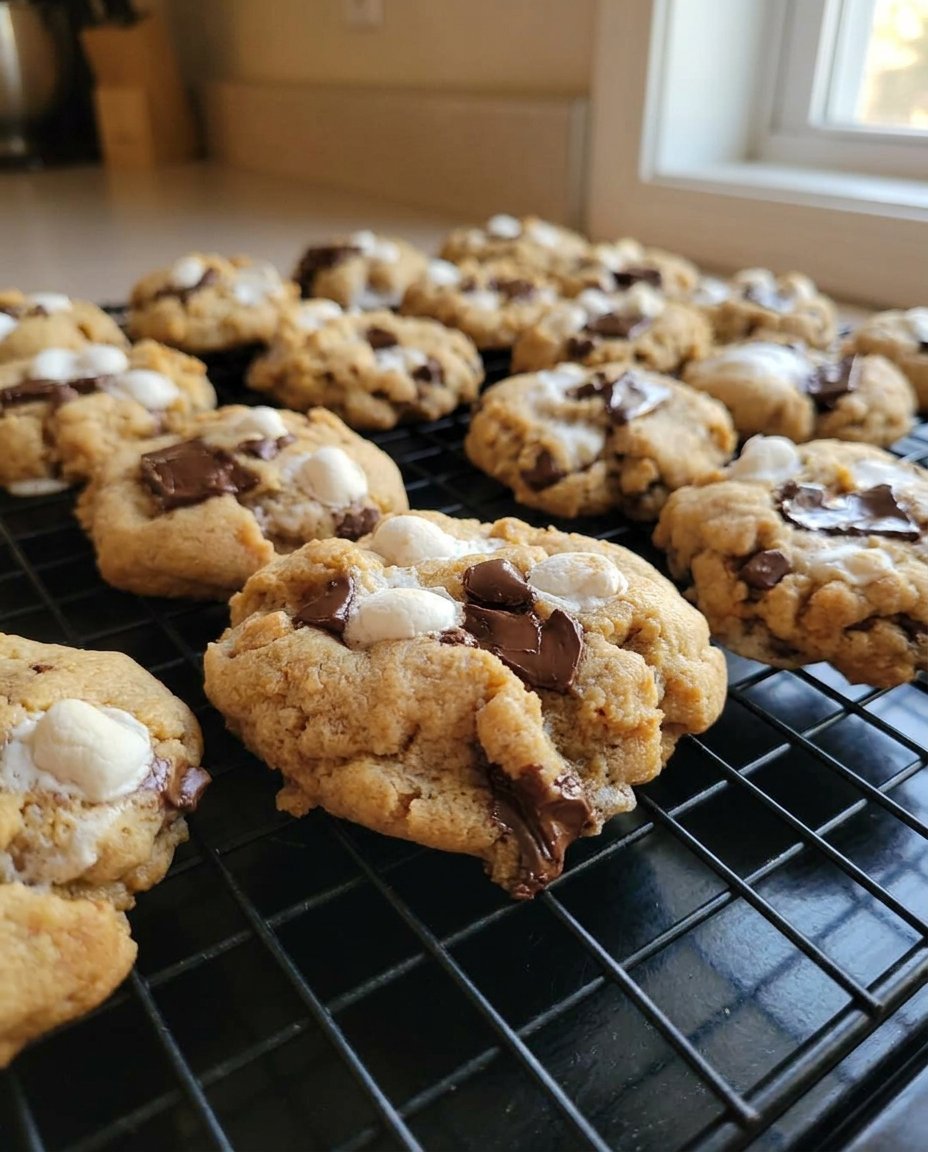
You are going to be absolutely obsessed with these cookies because they bring the visual drama of a red velvet cake into a portable, monster-sized treat. We don’t do small portions here; each cookie is a hefty 115-gram masterpiece that feels substantial in your hand and even better in your mouth. The contrast between the vibrant red dough and the snowy white chocolate chips is a total vibe that makes these cookies look like they came straight from a high-end bakery.
The texture is where the real magic happens, offering a soft, fudgy center that perfectly mimics the crumb of a classic cake but with the chewy edges of a world-class cookie. Because we use a mix of light brown and white granulated sugars, you get that perfect balance of molasses depth and crisp sweetness. Plus, the slight tang from the cocoa powder makes every bite feel sophisticated and wild all at once. If you love a cookie that is thick, gooey, and unapologetically bold, this is your new favorite recipe.
Print
Red Velvet Cookies
- Total Time: 1 hour 4 mins
- Yield: 8 cookies
- Diet: Vegetarian
Description
Indulge in these thick, NYC-style Red Velvet Cookies featuring a vibrant crimson dough and a massive amount of white chocolate chips. These 6-ounce monster treats offer a soft, cake-like center with chewy edges, perfect for making a bold statement at any dessert table.
Ingredients
- 125g unsalted butter, softened
- 100g light brown sugar
- 75g white granulated sugar
- 1 medium egg
- 1 tsp vanilla extract
- Red gel food colouring
- 300g plain flour
- 15g cocoa powder
- 1 tsp baking powder
- 1/2 tsp bicarbonate of soda
- Pinch of sea salt
- 300g white chocolate chips
Instructions
- Cream the unsalted butter, light brown sugar, and white granulated sugar in a stand mixer until pale and creamy.
- Beat in the egg, vanilla extract, and red food colouring until the color is consistent.
- Sift and fold in the plain flour, cocoa powder, baking powder, bicarbonate of soda, and sea salt on low speed until a thick dough forms.
- Fold in the white chocolate chips until evenly distributed.
- Weigh the dough into eight balls, approximately 115-120g each.
- Chill the dough balls in the freezer for at least 30 minutes or the fridge for one hour.
- Preheat the oven to 180C Fan (200C regular) and line two baking trays with parchment paper.
- Bake for 12-14 minutes, ensuring there is plenty of space between the cookies.
- Allow the cookies to cool on the tray for at least 30 minutes to firm up while remaining gooey in the center.
Notes
For the best visual results, use a professional gel-based food coloring rather than a liquid version to ensure the dough remains thick and the color stays vibrant after baking. If your cookies lose their round shape in the oven, use a large circular cutter to gently scoot them back into a perfect circle immediately after removing them from the heat.
- Prep Time: 20 mins
- Cook Time: 14 mins
- Category: Dessert
- Method: Baking
- Cuisine: American
The Candy Arsenal and Dough Essentials

To make these cookies truly epic, we need to gather our loaded ingredients and prep for some serious baking action. We aren’t just making dough; we are building a foundation for a chocolate explosion that will satisfy even the most intense sugar cravings.
- Unsalted Butter: We use 125g of high-quality butter to provide that rich, creamy base that makes the cookies melt in your mouth.
- The Sugar Duo: A combination of 100g light brown sugar and 75g white granulated sugar ensures the perfect chewy texture and a subtle hint of caramel.
- Red Food Colouring: This is the key to that iconic crimson look; I recommend a high-quality gel to get that vibrant pop without watering down the dough.
- Cocoa Powder: Just 15g is all you need to give that signature red velvet flavor without turning the cookie into a full-on chocolate bar.
- White Chocolate Chips: We are loading in 300g of these bad boys because, in my world, there is no such thing as too many mix-ins.
- The Leavening Team: A mix of baking powder and bicarbonate of soda gives these monsters the lift they need to stay thick and gooey instead of spreading into thin pancakes.
The Stuffing Process Step-by-Step
Step 1: Cream the Base
Add your unsalted butter, light brown sugar, and white granulated sugar to a large bowl. Use a stand mixer with the beater attachment to beat these together until the mixture is incredibly creamy and pale. This step incorporates the air we need for that perfect texture.
Step 2: Add the Color and Liquid
Crack in your medium egg and add the vanilla extract along with that bold red food colouring. Beat the mixture again until the color is consistent and the egg is fully incorporated into the creamed butter and sugar.
Step 3: Incorporate the Dry Ingredients
Sift in your plain flour, cocoa powder, baking powder, bicarbonate of soda, and sea salt. Turn the mixer to low and beat just until a thick, vibrant red cookie dough begins to form. Do not overmix here; we want to keep things tender.
Step 4: Load the White Chocolate
Pour in all 300g of your white chocolate chips. Beat the dough for a few more seconds or use a sturdy spatula to ensure those chips are distributed well throughout every single inch of the dough.
Step 5: Shape the Monsters
Weigh out your dough into eight massive balls, roughly 115-120g each. This is what gives them that NYC-style monster size! If you want them smaller, you can, but remember: more is more.
Step 6: The Big Chill
Place your cookie dough balls in the freezer for at least 30 minutes or the fridge for an hour. This step is non-negotiable for keeping them thick and preventing them from spreading too thin in the oven.
Step 7: Preheat and Prep
While the dough is chilling, preheat your oven to 180C Fan (or 200C regular). Line two baking trays with parchment paper so you have plenty of room for these giants to breathe.
Step 8: The Bake
Place four cookies on each tray, leaving plenty of space between them. Bake for 12-14 minutes. They might look a little raw when they come out, but trust the process—they will firm up as they cool.
Step 9: The Cool Down
Leave the cookies on the tray for at least 30 minutes. This allows the carryover heat to finish the centers while keeping them gooey and soft. Patience is a virtue, even in the world of cookie chaos!
Riley’s Wild Tips for Cookie Greatness

If you want to ensure your cookies have that professional, thick look, do not flatten them before they go in the oven. They will naturally settle into the perfect shape as they bake, and keeping them in balls ensures a soft, fudgy interior. For a deeper dive into the science of the perfect bake, check out our ultimate-cookie-favorites guide for more secret techniques. Another great trick is to use a circular cookie cutter or a glass to “scoot” the cookies into a perfect circle right when they come out of the oven while they are still soft. If you love this specific NYC style, you should definitely see how others handle the heat over at Jane’s Patisserie. Lastly, always use gel food coloring instead of liquid drops to avoid changing the moisture balance of your dough.
Mashup Ideas to Go Even Bigger
Who says you have to stop at white chocolate chips? If you want to go truly wild, try stuffing these Red Velvet Cookies with a frozen disc of cream cheese frosting in the center for a “cake-filled” surprise. You can also swap half of the white chocolate for semi-sweet chunks to create a darker, more decadent flavor profile. For those who love a bit of crunch, adding crushed Oreos into the dough creates a fantastic texture similar to our cookies-and-cream-cookies. You could even try a “Kitchen Sink” version by adding mini marshmallows and macadamia nuts for a cookie that is truly over-the-top. The beauty of these monsters is that they are sturdy enough to handle almost any candy you throw at them.
Party Mode: How to Serve These Giants

These cookies are best served slightly warm, which keeps the white chocolate chips in a perfectly melty, gooey state. I love serving them on a big wooden board in the middle of the table so everyone can grab a monster and start peeling it apart. For a truly festive look, you can find more presentation ideas in our festive-cookie-moments collection. If you really want to impress your guests, serve these alongside a cold glass of milk or even a small bowl of cream cheese dip for the ultimate dipping experience. These are also great for gifting—just wrap them in some clear parchment with a bright red ribbon to match the dough!
Cookie Chaos and Crimson Dreams
Baking these Red Velvet Cookies is all about embracing the fun and audacity of the kitchen. Don’t be afraid to go big with your portions and bold with your colors—that is what makes baking a true adventure. If you enjoyed this monster-sized challenge, you have to try our crumbl-cookie-recipe-copycat for another heavy hitter. We love seeing your wild creations, so make sure to share your bakes with the community! Follow us on Instagram, TikTok, and Pinterest to stay updated on all our latest cookie mashups and loaded treats. Now get out there and start breaking some cookie rules!

