Walking through the farmers market last Saturday, the scent of warm, roasted peanuts from a local vendor stopped me right in my tracks. There is something so honest and grounded about that aroma, like a sun-drenched field in late summer. It immediately made me want to create a wholesome, loaded treat that celebrates that simple, natural nuttiness in every single crumb.

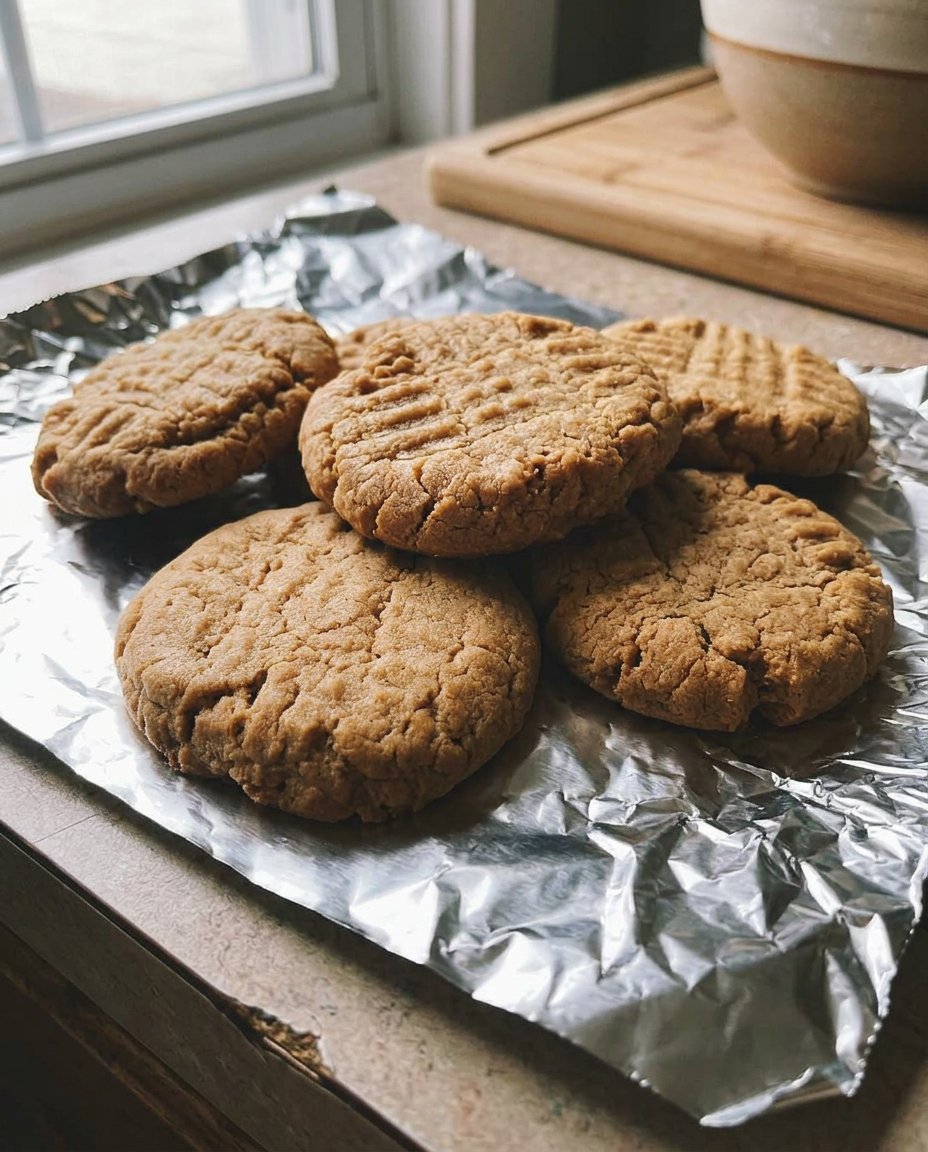
This Nutter Butter Copycat recipe isn’t your typical grocery store snack; it’s a vibrant, farmhouse-style upgrade that uses real butter and freshly ground peanuts. We are going for that beautiful, classic peanut shape and a creamy filling that tastes like pure peanut abundance. These cookies are hearty, crunchy, and packed with genuine flavor that only comes from using the best ingredients you can find.
A Celebration of Natural Nutty Goodness
If you grew up loving the iconic peanut-shaped sandwich cookies, you are going to fall head over heels for this homemade version. Unlike the mass-produced bags, these cookies have a deep, complex flavor from the addition of freshly ground, roasted peanuts right in the dough. The texture is perfectly crisp without being hard, and the filling is so light and velvety that it practically melts on your tongue.
We love this recipe because it embraces the wild, beautiful nature of the peanut. There are no artificial oils or strange preservatives here—just the wholesome goodness of creamy peanut butter and real dairy butter. It is a bold, loaded cookie that feels both nostalgic and totally fresh at the same time. Plus, the process of piping the little designs on top is a wonderful way to slow down and enjoy the art of baking from scratch.
Print
Nutter Butter Copycat
- Total Time: 57 mins
- Yield: 24 sandwich cookies
- Diet: Vegetarian
Description
Capture the essence of farmhouse baking with these homemade peanut sandwich cookies that elevate the classic store-bought snack. Combining real butter and freshly ground peanuts, these treats offer a rich, authentic flavor and a satisfyingly crisp texture.
Ingredients
- 1 cup unsalted butter, softened and divided
- 1 cup creamy peanut butter, divided
- 1/2 cup granulated sugar
- 1/2 teaspoon baking soda
- 1/4 teaspoon salt
- 2 teaspoons vanilla extract, divided
- 2 large egg yolks
- 1 1/2 cups all-purpose flour or rice flour
- 1/2 cup roasted unsalted peanuts
- 2 ounces cream cheese, softened
- 1 1/2 cups powdered sugar
- 1–2 teaspoons hot water
Instructions
- Cream together 1/2 cup butter, 1/2 cup peanut butter, sugar, baking soda, salt, and 1 teaspoon vanilla until just combined.
- Add egg yolks one at a time while mixing on low speed, scraping the bowl as needed.
- Pulse flour and peanuts in a food processor until finely ground, then sift to remove large pieces.
- Slowly mix the peanut-flour mixture into the wet ingredients until a stiff, uniform dough forms.
- Shape dough into a disc, wrap in parchment, and refrigerate for 30 minutes.
- Roll dough to 1/8 inch thickness on a floured surface and cut into peanut shapes.
- Thin dough scraps with hot water to a frosting consistency and pipe a grid pattern on each cookie.
- Bake at 350°F for 12 minutes until firm, then cool completely on the pan.
- Beat remaining 1/2 cup butter, 1/2 cup peanut butter, cream cheese, powdered sugar, and 1 teaspoon vanilla for 5 minutes until light and fluffy.
- Pipe filling onto the bottom of half the cookies and press the remaining cookies on top to assemble.
Notes
To ensure the most delicate crunch, use rice flour instead of all-purpose flour. Make sure to sift the ground peanut and flour mixture thoroughly to prevent any large bits from clogging your piping tip during the decoration stage.
- Prep Time: 45 mins
- Cook Time: 12 mins
- Category: Dessert
- Method: Baking
- Cuisine: American
Fresh Ingredients for Natural Abundance

To get that authentic, earthy flavor, we start with simple but high-quality staples. Using a mix of creamy peanut butter and roasted peanuts gives us different layers of peanut profile that you just cannot get from a jar alone.
- Unsalted Butter: This provides the rich, golden foundation for both the wafer and the filling. Always use a high-quality butter for the best natural taste.
- Creamy Peanut Butter: Look for a brand that is simple and smooth to keep the dough manageable and the filling silky.
- Roasted, Unsalted Peanuts: We grind these with the flour to add a punch of real nut flavor and a lovely, rustic texture.
- Rice Flour or All-Purpose Flour: Rice flour creates an exceptionally crisp, short texture, but all-purpose works beautifully for a traditional bite.
- Egg Yolks: These add a touch of richness and help bind the dough without making it cakey.
- Pure Vanilla Extract: A splash of real vanilla brings all the sweet and salty notes together in perfect harmony.
- Cream Cheese: Just a hint in the filling adds a secret tang and makes the texture incredibly stable and lush.
- Powdered Sugar: To sweeten our filling and give it that signature melt-in-the-mouth quality.
The Natural Process
Step 1: Cream the Base
Using a hand or stand mixer set to medium speed, cream together the butter, peanut butter, sugar, baking soda, salt, and vanilla extract. You want this to be just combined. Make sure you do not over-mix, as we want to keep the air out of the dough for a denser, crunchier wafer.
Step 2: Incorporate the Yolks
With the mixer still running at a low speed, add in your egg yolks one at a time. Once they are fully mixed in, stop the mixer and use a rubber spatula to scrape down the sides of the bowl to make sure every bit is incorporated.
Step 3: Grind the Peanuts and Flour
In the bowl of a food processor, combine your flour and the roasted peanuts. Process them for about a minute until the peanuts are finely ground. Sift this mixture through a fine-mesh sieve into a bowl. If you have larger chunks left, regrind them. This part is vital because large peanut pieces will make the dough hard to roll thin and will clog your piping bag later.
Step 4: Mix the Final Dough
Turn your mixer to its lowest setting and add the peanut-flour mixture all at once. The dough will be quite stiff. Continue mixing until the color is uniform and everything is blended. Scrape the dough out and knead it lightly with your hands to form a smooth, beautiful ball, then flatten it into a disc.
Step 5: Chill the Dough
Wrap your disc in parchment or reusable wrap and refrigerate for about 30 minutes. This rest time makes the dough stiff enough to roll out easily without sticking to your counter.
Step 6: Roll and Cut
Preheat your oven to 350°F (180°C). Dust your counter with a little flour and roll the dough very thin—about 1/8 inch. Slide a metal spatula under the dough to loosen it from the counter. Use a peanut-shaped cutter or a bikini-style cutter to stamp out your cookies. Place them on parchment-lined baking sheets.
Step 7: Create the Pattern
Take your dough scraps and mix them with a teaspoon of hot water at a time until you have a smooth paste with the consistency of frosting. Put this into a piping bag with a tiny tip. Pipe a grid-like pattern on top of each cookie to give them that classic, rustic look.
Step 8: Bake and Cool
Bake the cookies for about 12 minutes or until they feel firm. Let them cool completely on the sheet pan. They will crisp up further as they sit, reaching that perfect golden crunch.
Step 9: Make the Filling
Cream together the butter, peanut butter, cream cheese, powdered sugar, and vanilla for the filling. Beat this on medium speed for at least 5 minutes. This long mixing time is the secret to a filling that isn’t gritty and feels like a cloud of peanut heaven.
Step 10: Assemble the Sandwiches
Flip half of your cooled cookies over. Pipe a line of filling down the center of each, then top with another cookie. Let them set in an airtight container in the fridge for a few hours before sharing.
Christine’s Fresh Wisdom

To keep your cookies from getting soft after filling, make sure they are completely cold before you even think about adding the cream. If you find your fruit-infused or nut-heavy dough is sticking too much, try rolling it between two sheets of parchment paper. This keeps things clean and helps you get that ultra-thin 1/8 inch thickness that makes these so satisfying to crunch on. For more peanut inspiration, you might love my peanut-butter-blossom-cookies which share that same wholesome, nutty heart. Also, check out this great guide on homemade nutter butters for extra technical details on the peanut flour process.
Seasonal Swaps and Fresh Ideas
If you want to try something different, you can swap the peanuts for roasted almonds or even sunflower seeds for a nut-free version that still feels like a farmhouse treasure. During the autumn months, adding a pinch of cinnamon or nutmeg to the dough brings a warm, cozy spirit to the kitchen. If you are a fan of bold, trendy treats, you can take a look at my crumbl-cookie-recipe-copycat to see how I adapt big flavors into natural, beautiful bakes. You can even dip half of the finished sandwich in dark chocolate for a truly decadent stack.
Natural Presentation and Fresh Enjoyment

These cookies look beautiful served on a wooden board at an outdoor gathering or tucked into a picnic basket for a trip to the park. I love pairing them with a cold glass of oat milk or a steaming cup of herbal tea to let the peanut flavor really shine. If you are putting together a dessert spread, these look wonderful next to my chocolate-no-bake-cookies for a variety of textures and rich, natural colors. They also make a lovely gift when wrapped in brown paper and tied with a bit of twine.
Abundant Baking and The Natural Truth
Making these cookies is a reminder that the most beautiful things often come from simple, grounded ingredients found in nature. There is a deep satisfaction in turning a handful of peanuts and butter into a treat that brings so much joy to the table. If you enjoyed this journey into peanut-filled delights, you should also try my pecan-snowballs for another nutty, buttery experience. Happy baking, and may your kitchen always be full of natural abundance!
Find more inspiration on our social pages:

