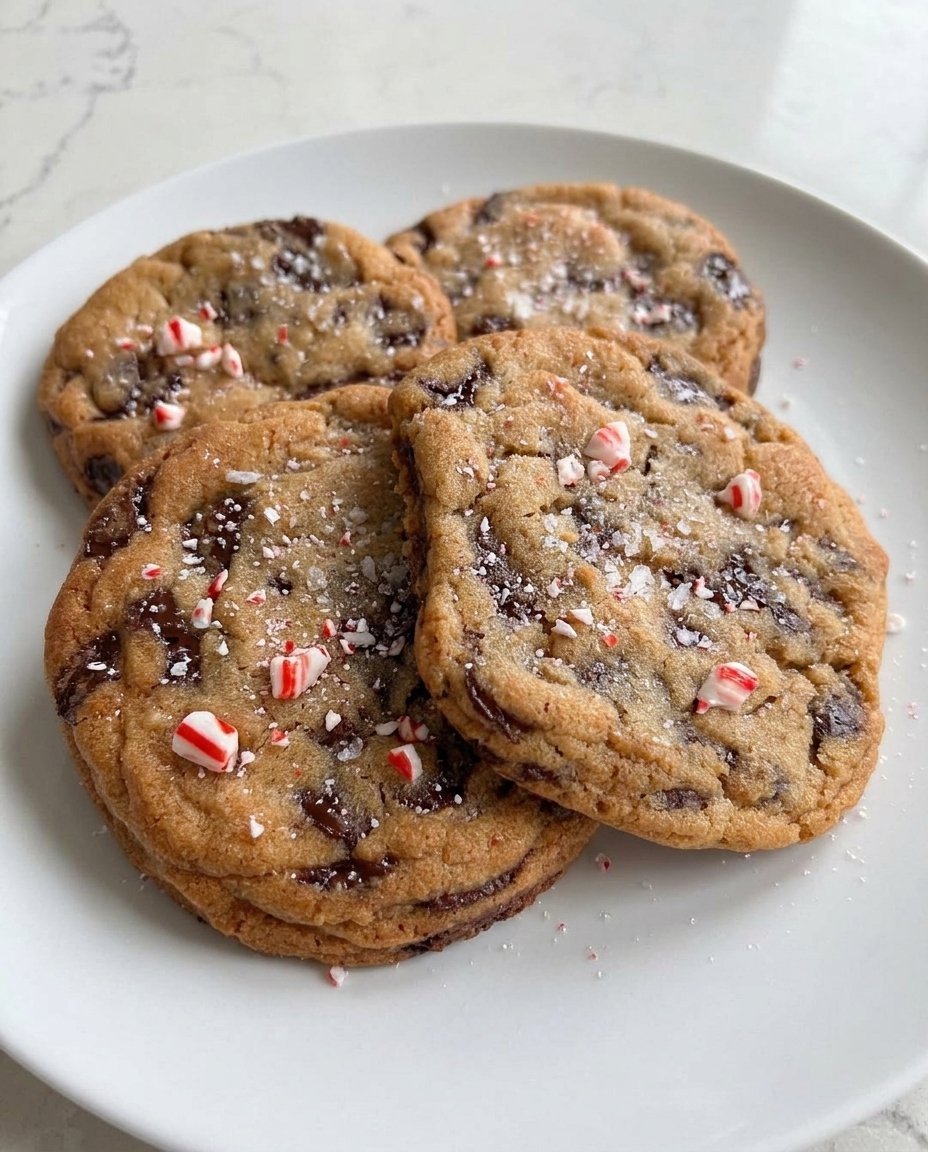
In my kitchen, I always say that the foundation matters more than the fancy finish. Before we can talk about the wild, loaded treats we all love, we have to master the basics of the ingredients themselves. This recipe for homemade matcha chocolate chips is exactly that—a reliable, buttery base that brings a little bit of tradition into a modern flavor profile.

Making your own chips from scratch might seem like a lot of work, but it is the secret to a truly wonderful cookie. These little gems offer a beautiful earthy green color and a subtle tea flavor that balances the sweetness of white chocolate perfectly. Once you see how easy it is to create these, you will never want to go back to the bag again.
The Foundation of a Great Cookie
You will love these because they put the power back in your hands as a baker. Most store-bought chips are filled with stabilizers and artificial waxes that take away from the pure, buttery flavor we want in a classic treat. By making these yourself, you control the quality of the matcha and the sweetness of the white chocolate.
This method is reliable and honest. It gives you a consistent result every time, whether you are making small chips for a delicate biscuit or large, rustic chunks for a heavy, loaded masterpiece. It is about taking the time to do things right, which is something I cherish in my kitchen. You get a deep, authentic flavor that simply cannot be found in a processed package.
Print
Matcha Chocolate Chips
- Total Time: 30 mins
- Yield: 1 cup
- Diet: Gluten-Free
Description
Create vibrant and flavorful homemade mix-ins with this simple recipe for matcha chocolate chips. These buttery, earthy gems offer a superior taste and texture compared to store-bought versions, perfect for elevating any cookie dough.
Ingredients
- 1 cup high-quality white chocolate chips
- 1 tablespoon culinary grade matcha powder
- 1 teaspoon coconut oil
Instructions
- Melt the white chocolate chips and coconut oil together using a microwave in 20-second intervals or a bain-marie until the mixture is smooth and glossy.
- Remove the melted chocolate from the heat and sift in the matcha powder through a fine-mesh strainer to prevent clumping.
- Whisk the mixture gently until the green color is uniform and no lumps remain.
- Spread the mixture onto a silicone baking mat for chunks, or use a piping bag to create small dots for traditional chips.
- Place the tray in the freezer for 15 to 20 minutes until the chocolate is completely solid.
- Break the sheet into rustic chunks or pop the chips off the mat and store them in a cool place or the freezer.
Notes
To ensure your chips have a professional snap, avoid overheating the white chocolate, as it can easily become grainy. Always store these in the refrigerator or freezer if your kitchen is warm to prevent them from softening before you are ready to bake.
- Prep Time: 5 mins
- Cook Time: 25 mins
- Category: Dessert
- Method: Melting
- Cuisine: American
Quality Ingredients for Your Dough Base

To get the best results, you need to start with the best possible components. Since this recipe only has three ingredients, each one needs to be top-quality to make your foundation strong.
- White Chocolate Chips: Look for a brand that lists cocoa butter as a primary ingredient. This provides that creamy, melting texture we crave. Avoid anything labeled ‘candy melts’ as they lack the flavor we are looking for.
- Matcha Powder: I recommend culinary grade matcha for baking. It has a strong enough flavor to stand up to the sweetness of the chocolate while maintaining a beautiful, vibrant green hue.
- Coconut Oil: This is our secret to a smooth finish. It helps the chocolate melt evenly and gives the chips a wonderful snap once they are frozen and set.
Using room-temperature matcha and high-quality chocolate makes all the difference in how the flavors meld together. It is a small step, but technique is what turns a simple recipe into something special.
The Classic Method
Step 1: Melt the Base
If you prefer the microwave, place your white chocolate chips and coconut oil in a microwave-safe bowl. Heat for 20 seconds at a time, stirring thoroughly between rounds. It is vital to move slowly so the chocolate does not seize. For those who like the traditional way, use a bain-marie. Bring a small pot of water to a simmer and set an oven-safe bowl on top, making sure the bottom does not touch the water. Stir constantly until the mixture is smooth and glossy.
Step 2: Incorporate the Matcha
Once your chocolate is fully melted and smooth, remove it from the heat source. Sift in your matcha powder using a fine-mesh strainer. This is a step you cannot skip; matcha is prone to clumping, and sifting ensures a smooth, even color throughout the dough base. Whisk gently until the color is uniform and no green lumps remain.
Step 3: Shape and Set
For rustic chunks, pour the green chocolate onto a silicone baking mat and spread it to about a quarter-inch thickness. If you want traditional chips, transfer the mixture to a squeeze bottle or a piping bag with a tiny tip. Pipe small dots onto your mat. Do not worry if they are not perfect; a little bit of character is part of the charm. Place the tray in the freezer for at least 15 to 20 minutes until they are completely solid.
Step 4: Final Preparation
If you made a sheet of chocolate, use a sharp knife to cut it into uneven chunks. For the piped chips, simply bend the silicone mat and they will pop right off. Store them in a cool, dry place or keep them in the freezer until you are ready to fold them into your next batch of cookies.
Dough Wisdom and Foundation Secrets

One of my favorite secrets is to always sift your dry powders. Whether it is flour or matcha, sifting removes the lumps that can ruin the texture of a soft cookie. Also, remember that white chocolate is very sensitive to heat; if it gets too hot, it will become grainy. Stay patient and keep your heat low. If you want to see how these chips work in a larger scale recipe, check out our bakery-style-chocolate-chip-cookies-2 for more inspiration.
Another trick is to use a thermometer if you are unsure about the chocolate temperature. You want to keep it below 110 degrees Fahrenheit (43 degrees Celsius) for the best results. For more detailed guides on working with unique flavors, you can also look at this matcha chocolate chips guide which offers additional technical advice.
Build On This Base
Once you have mastered this foundation, you can start to have some fun. You might try adding a tiny pinch of sea salt to the melted chocolate to bring out the earthiness of the tea. You can also swap the white chocolate for a high-quality dark chocolate, though the matcha flavor will be more subtle against the cocoa.
For those who like a bit of crunch, try stirring in some finely chopped toasted nuts before you pipe the chips. This dough is strong enough to handle any of your wild ideas! If you are looking for a quick base to test these in, our no-chill-chocolate-chip-cookies are a wonderful place to start.
Classic Enjoyment

These chips are best served folded into a thick and chewy cookie dough. They pair beautifully with a cold glass of milk or a warm cup of jasmine tea. If you are hosting a gathering, try using these chips in our bakery-style-chocolate-chip-cookies to give your guests something familiar but with a sophisticated twist. They are also wonderful as a topping for vanilla bean ice cream or stirred into a morning bowl of oatmeal for a special treat.
The Sweet Foundation
I hope this recipe gives you the confidence to start making your own mix-ins at home. Having a solid foundation in your baking means you can take any cookie from ordinary to cherished. Remember that technique and quality ingredients are the heart of every good kitchen. For more fun ideas, try our cookies-and-cream-cookies next! If you make these, I would love to see how they turn out. Share your photos with us on Pinterest, Instagram, or Facebook. Happy baking, and keep focusing on that beautiful dough!
