I remember finding a basket of fresh walnuts at the market, which immediately made me think of the earthy, nutty smell of browning butter in my cast iron skillet. There is a special kind of magic in using wholesome ingredients to create a treat that feels both abundant and real. These cookies are my way of bringing that farmhouse warmth to your kitchen, one golden bite at a time.

This recipe is built on the foundation of real flavor, using a blend of gluten-free flour and almond flour to achieve a perfect, chewy texture. By letting the dough rest, we allow the natural ingredients to fully hydrate, creating a cookie that is loaded with chocolate and heart. It is the kind of baking that celebrates the beauty of simple, natural things.
Wholesome Loaded Goodness
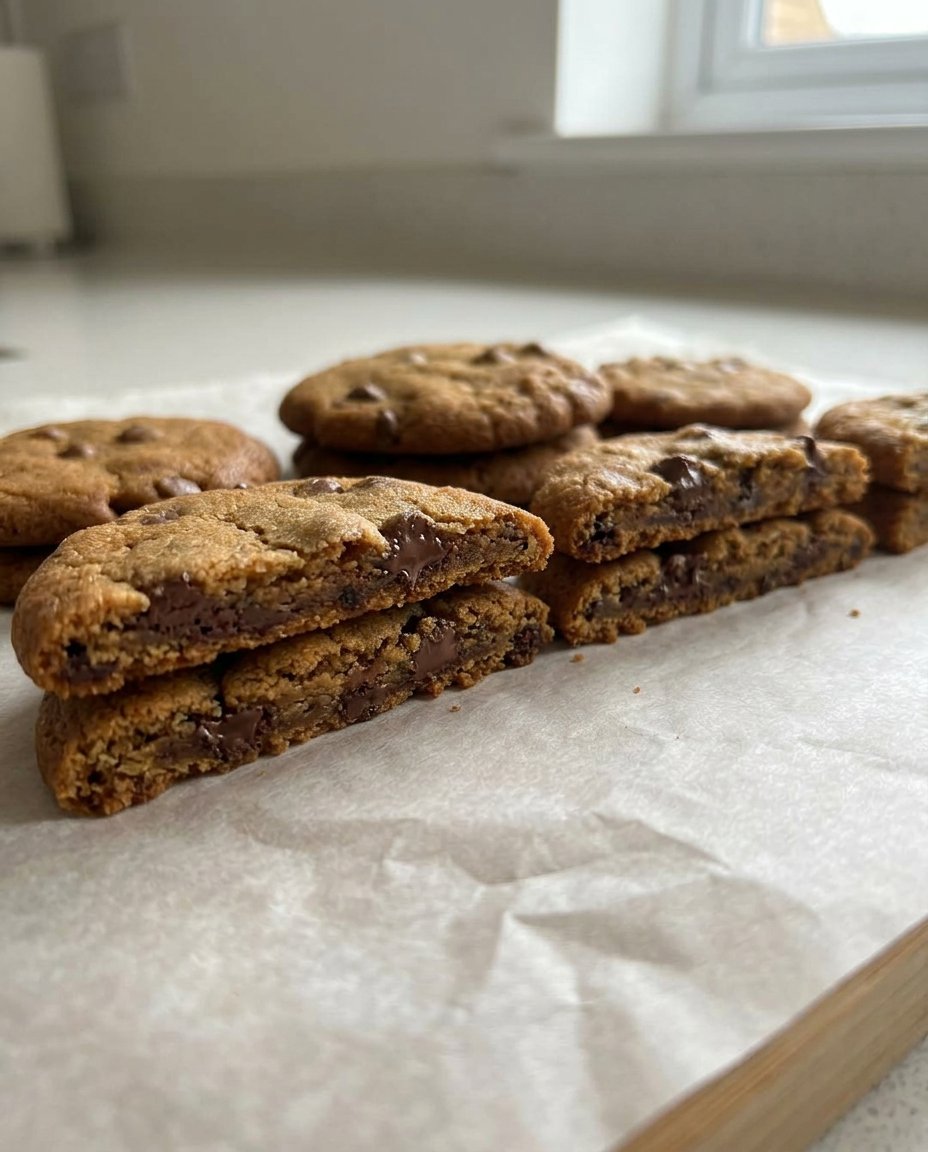
You will fall in love with the deep, toffee-like notes that the brown butter brings to every single cookie in the batch. It creates a rich, natural base that pairs beautifully with the bold, dark chocolate chips we use for that loaded feel. These cookies have a natural beauty that comes from using high-quality ingredients like real vanilla and almond flour.
What makes these truly special is how they manage to be both indulgent and grounded in wholesome ingredients. They aren’t just another sweet treat; they are a vibrant celebration of natural abundance and the joy of home baking. You get that classic, gooey chocolate chip experience without any artificial shortcuts or complicated steps.
Print
Gluten Free Chocolate Chip
- Total Time: 57 mins
- Yield: 24 cookies
- Diet: Gluten-Free
Description
These wholesome gluten-free cookies feature the deep, toffee-like flavor of browned butter and a chewy texture from a blend of almond and gluten-free flours. Loaded with dark chocolate chips and finished with a hint of sea salt, they offer a sophisticated yet comforting treat for any occasion.
Ingredients
- Gluten-Free Flour Blend (1:1 with xanthan gum)
- Almond Flour
- Baking Soda
- Salt
- Unsalted Butter
- Milk
- Brown Sugar
- Granulated Sugar
- Egg
- Real Vanilla Extract
- Dark Chocolate Chips
- Flaky Sea Salt
Instructions
- In a medium bowl, whisk together the gluten-free flour, almond flour, baking soda, and salt; set aside.
- Melt the butter in a medium skillet over medium-low heat, stirring occasionally until it foams and turns a beautiful golden brown.
- Pour the browned butter into a medium bowl immediately to stop the cooking process and let it cool.
- Add the milk, brown sugar, and granulated sugar to the warm brown butter and whisk until the mixture looks like smooth caramel.
- Whisk in the egg and real vanilla extract until the mixture becomes glossy and creamy.
- Using a rubber spatula, gently fold in the dry ingredients until combined, then stir in the dark chocolate chips.
- Cover the bowl and let the dough rest at room temperature for 30 minutes to help the flour hydrate.
- Preheat your oven to 350°F and line baking sheets with parchment paper or silicone mats.
- Scoop the dough into round balls (about two tablespoons each) and place them two inches apart on the sheets.
- Bake for 10-12 minutes until the edges are golden but centers are soft; cool on the sheet for five minutes before moving to a wire rack and sprinkling with flaky sea salt.
Notes
Allowing the dough to rest for at least 30 minutes is crucial for gluten-free baking as it helps the flours fully hydrate, resulting in a much smoother texture. For an even more intense toffee flavor, you can refrigerate the dough for up to five days before scooping and baking.
- Prep Time: 15 mins
- Cook Time: 12 mins
- Category: Dessert
- Method: Baking
- Cuisine: American
Fresh Ingredients from the Earth

When I bake, I think about where each ingredient comes from and how it brings its own natural beauty to the tray. Using a combination of a reliable gluten-free blend and a bit of almond flour creates a texture that is both soft and hearty. The almond flour isn’t just for structure; it adds a subtle sweetness that feels very wholesome and grounded.
Brown butter is the heart of this recipe, providing a depth that you just can’t get from plain melted butter. It adds a toasted, caramel-like note that pairs perfectly with the dark chocolate chips. I always recommend using the best butter you can find, preferably from a local dairy if you have access to one. Don’t forget the importance of real vanilla extract and a touch of sea salt. These simple additions act like a spotlight, bringing out the best in the chocolate and the nuttiness of the flours.
- Gluten-Free Flour Blend: A 1:1 blend with xanthan gum works best for structure.
- Almond Flour: This brings moisture and a wonderful earthy flavor.
- Brown Butter: Toasted milk solids create a caramel-like aroma.
- Real Vanilla: Always choose authentic extract for the best floral notes.
- Chocolate Chips: Loaded with dark chocolate for a rich, bold finish.
The Natural Process
Step 1: Whisk Your Dry Ingredients
In a medium bowl, whisk together the gluten-free flour, almond flour, baking soda, and salt. I love seeing the fine textures blend together, creating a perfect base for our cookies. Set this bowl aside for a moment while we get the butter ready.
Step 2: Brown Your Butter
Melt the butter in a medium skillet over medium-low heat, stirring it occasionally with a wooden spoon. This is where the magic happens and the kitchen begins to smell like a cozy farmhouse morning. Watch closely as it starts to foam and turn a beautiful golden brown.
Step 3: Cool and Combine
Once the butter smells nutty and looks like liquid gold, remove it from the heat immediately. Pour it into a medium bowl to stop the cooking process so those precious milk solids don’t burn. This toasted butter is the secret to a deep, natural flavor.
Step 4: Mix the Sugars and Butter
Add the milk, brown sugar, and granulated sugar to your warm brown butter. Whisk them together until the mixture looks like smooth, dark caramel. The smell of the sugar melting into the butter is absolutely divine.
Step 5: Add the Egg and Vanilla
Whisk in the egg and your real vanilla extract until the mixture becomes smooth and creamy. Using high-quality vanilla makes a world of difference in the final aroma of the cookies. It should look glossy and rich at this stage.
Step 6: Incorporate the Flour and Chips
Using a rubber spatula, gently fold in the dry ingredients until they are well-combined with the wet mixture. Stir in your chocolate chips, making sure they are distributed for a wholesome, loaded bite every time. The dough will be thick and smell like pure comfort.
Step 7: Let the Dough Rest
Cover the bowl and let the dough sit at room temperature for 30 minutes to help the flour hydrate. If you have time, you can even put it in the fridge for up to five days for an even deeper flavor. Patience is a key part of the natural baking process.
Step 8: Scoop and Bake
Preheat your oven to 350°F and line your sheets with parchment paper or silicone mats. Scoop the dough into round balls, about two tablespoons each, and place them two inches apart. Watch them as they transform into golden circles in the oven.
Step 9: Cool and Finish
Bake for 10-12 minutes until the edges are golden but the centers are still a bit soft. Let them cool on the sheet for five minutes before moving them to a wire rack. I like to sprinkle a little flaky sea salt on top to make the chocolate pop.
Christine’s Fresh Wisdom

One of the best ways to make sure your cookies have that perfect chewy texture is to give the dough time to rest. This 30-minute window allows the gluten-free flour to fully soak up the moisture, which prevents the cookies from feeling gritty or dry. If you are looking for more tips on achieving that perfect cookie shape, my bakery-style chocolate chip cookies guide has some wonderful techniques. When you are browning your butter, keep a close eye on it because it can go from golden to burnt in just a few seconds. Using a light-colored skillet helps you see the color change more clearly. For a deeper look at which chocolate brands to trust, I find the best gluten free chocolate chip cookies resource to be very helpful for home bakers.
Seasonal Swaps and Natural Options
I love how versatile this base dough is, allowing you to add whatever the season brings to your kitchen. In the autumn, you might try adding some chopped pecans or a dash of cinnamon to give the cookies a warm, harvest feel. If you enjoy a bit of extra color, dried berries can add a beautiful natural vibrance to every single bite. If you want to try a different kind of classic, my gluten-free snickerdoodles are a fantastic option that uses natural spices for big flavor. For those with nut allergies, you can replace the almond flour with an equal amount of your main gluten-free blend. This makes the recipe accessible for everyone while keeping that rich, buttery heart intact.
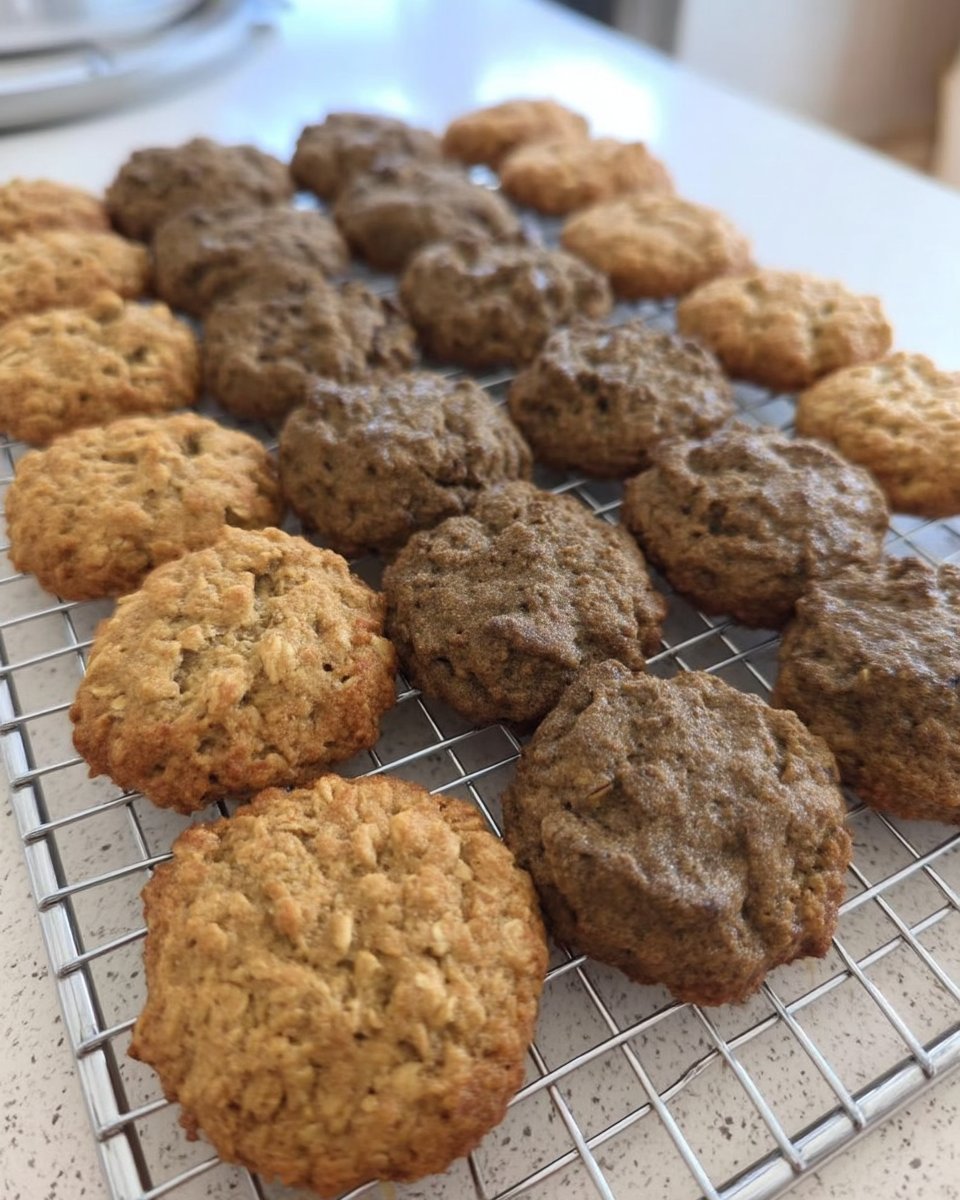
Natural Presentation and Fresh Enjoyment

There is nothing quite like a stack of fresh cookies sitting on a farmhouse table, ready for sharing. I like to serve these on a simple ceramic plate or a rustic wooden board to highlight their natural, golden beauty. They make a wonderful gift when wrapped in plain brown paper and tied with a bit of garden twine. For a special gathering, you could serve these alongside a platter of fresh seasonal fruit like strawberries or sliced apples. If you want to see how I stack my treats for a party, take a look at my bakery-style chocolate chip cookies 2 for some presentation inspiration. These cookies are best enjoyed with friends, laughter, and a slow afternoon.
The Natural Truth of Abundant Baking
Baking is a way to slow down and appreciate the simple gifts of the earth, from the grain in the flour to the cacao in the chips. This recipe is a favorite in my home because it proves that gluten-free can be just as decadent and wholesome as any traditional treat. If you are in a hurry but still want that homemade taste, my no-chill chocolate chip cookies are a great way to save time. I hope these cookies bring a sense of natural beauty and warmth to your kitchen this week. Don’t forget to follow along for more farm-fresh inspiration and wholesome loaded treats! You can find me sharing my latest kitchen finds on Pinterest, Instagram, and Facebook. Happy baking!
