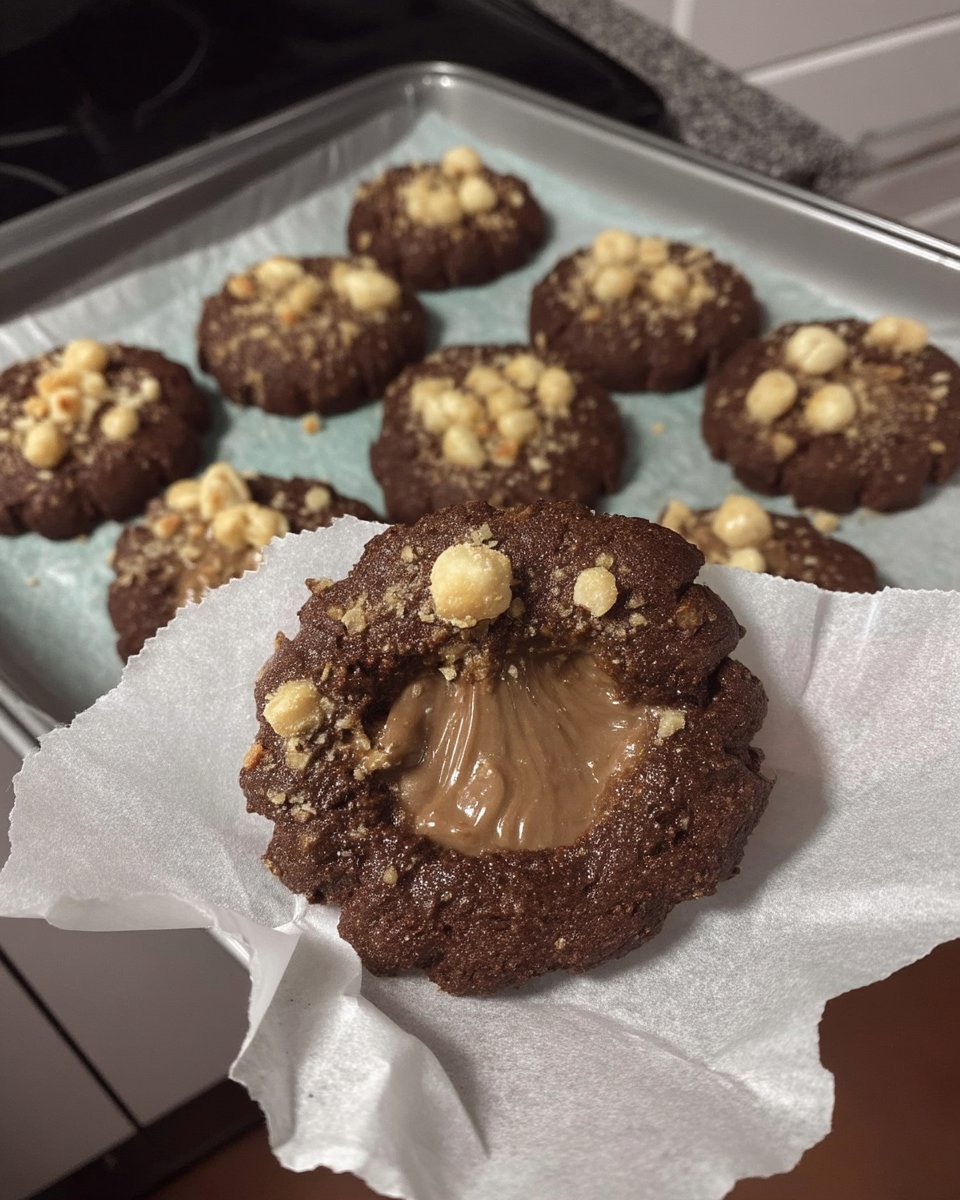
I remember sitting in my grandmother’s kitchen, watching her measure flour with a light hand and a steady gaze. She always told me that a cookie is only as strong as its foundation, and that shortcutting the creaming process was a recipe for disappointment. These Chocolate Snaps are built on that exact wisdom, proving that a solid dough is the secret to a perfect treat.

This particular recipe delivers a deep, cocoa-rich flavor with a texture that lives up to its name. The combination of melted chocolate and a touch of corn syrup creates a cookie that is crisp on the outside but holds a tender heart. It is the kind of reliable base that I return to whenever I want a cookie that feels like home.
The Foundation of a Perfect Snap
You are going to love this recipe because it strikes the perfect balance between simple preparation and sophisticated flavor. The richness of the semisweet chocolate chips, when melted and folded into a buttery base, creates a depth that cocoa powder alone simply cannot reach. This isn’t just a cookie; it’s a lesson in how quality ingredients and traditional techniques result in a snack that is both nostalgic and deeply satisfying.
The texture is the real star here. Because we use a bit of corn syrup and chill the dough, the cookies develop a beautiful crackle on the surface and a satisfying snap when you bite into them. They are sturdy enough to be tucked into a lunchbox but delicate enough to serve with a fine afternoon tea. It is a versatile dough that reminds us why the classics never go out of style.
Print
Chocolate Snaps
- Total Time: 1 hour
- Yield: 24 cookies
- Diet: Vegetarian
Description
Indulge in these deeply flavored Chocolate Snaps that offer a sophisticated balance of rich semisweet chocolate and a satisfyingly crisp texture. These reliable cookies are perfected by a short chilling period and a rolling of sugar for a beautiful, crackled finish that is perfect for any dessert platter.
Ingredients
- 2 cups semisweet chocolate chips, melted and cooled
- 3/4 cup butter, softened
- 1 cup white sugar, plus extra for rolling
- 1 1/2 teaspoons vanilla extract
- 2 tablespoons corn syrup
- 1 large egg
- 2 cups all-purpose flour
- 1 teaspoon baking soda
- 1/4 teaspoon salt
Instructions
- Melt the semisweet chocolate chips using a microwave or double boiler until smooth, then set aside to cool until lukewarm.
- In a medium bowl, whisk together the all-purpose flour, baking soda, and salt.
- Using an electric mixer on medium-low, cream the softened butter and white sugar for approximately three minutes until the mixture is light and fluffy.
- Beat in the vanilla extract, corn syrup, and egg until the batter is well combined and smooth.
- Reduce the mixer speed to low and slowly pour in the cooled, melted chocolate, mixing until fully integrated.
- Gradually add the flour mixture, mixing only until the white streaks of flour disappear to ensure a delicate texture.
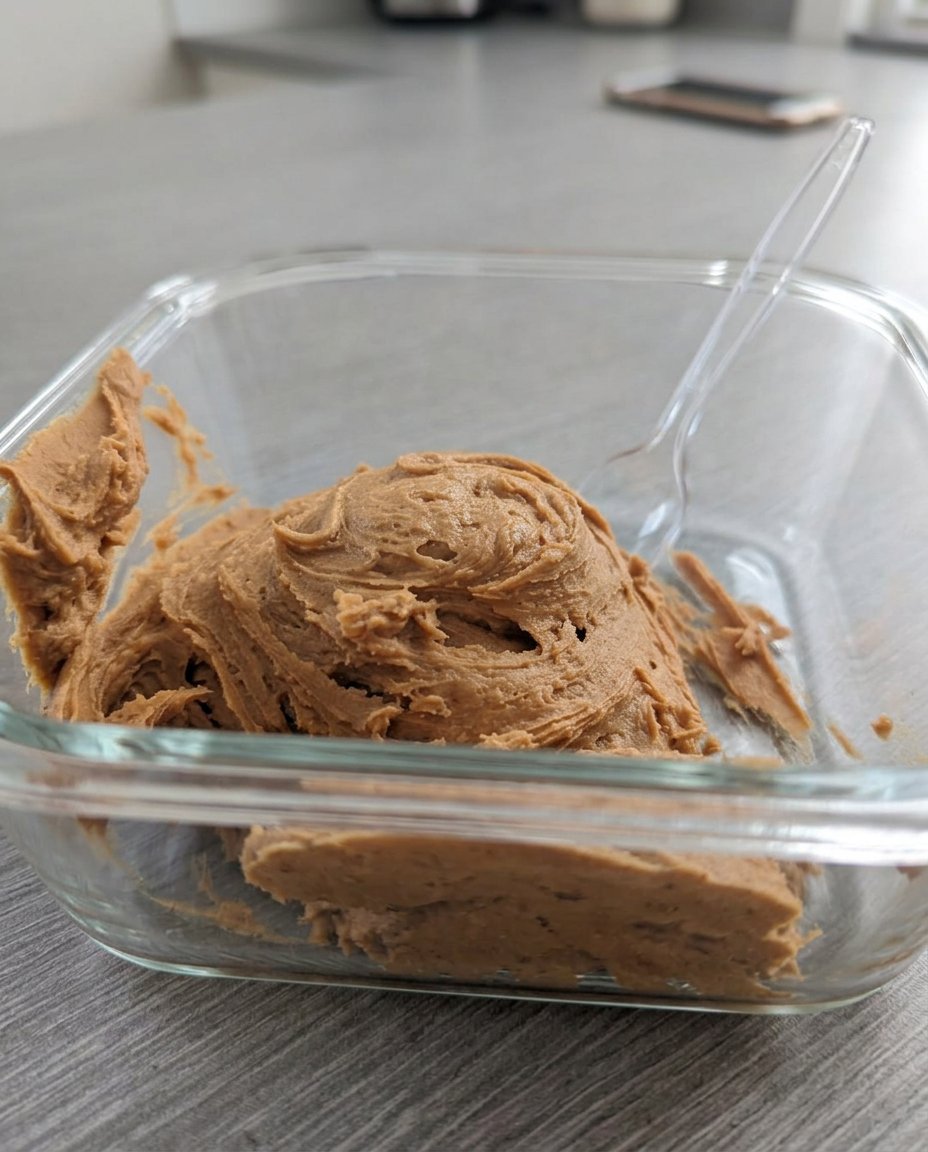
- Cover the dough and refrigerate for at least 30 minutes to firm up the fat and hydrate the flour.
- Preheat your oven to 350 degrees F (175 degrees C) and roll the chilled dough into one-inch balls, then roll each ball in extra white sugar until coated.
- Place the balls on ungreased baking sheets one inch apart and bake for 10 to 15 minutes; let them rest on the sheet for one minute before moving to a wire rack to cool completely.
Notes
To ensure your cookies have the perfect snap, verify that your baking soda is fresh by testing a small amount with vinegar. For a cleaner shape and more even baking, use a small cookie scoop to portion the dough before rolling into balls, and always wait for the melted chocolate to reach a lukewarm temperature before adding it to the butter to prevent the dough from becoming greasy.
- Prep Time: 45 mins
- Cook Time: 15 mins
- Category: Dessert
- Method: Baking
- Cuisine: American
Quality Ingredients for the Best Results

Starting with the right components is the first step toward a successful bake. In my kitchen, I always emphasize using the best quality butter and chocolate you can find, as these are the pillars of the flavor profile.
- Semisweet Chocolate Chips: We use two full cups of chips, melted down. This provides the structural chocolate flavor and a fudgy richness that defines the cookie.
- Softened Butter: Make sure your butter is at room temperature. It should give slightly when pressed but not be oily. This is crucial for achieving that fluffy texture during the creaming stage.
- All-Purpose Flour: This provides the necessary structure. I recommend fluffing your flour with a spoon before measuring to keep the dough from becoming too heavy.
- Corn Syrup: A secret weapon for texture. It helps create that signature snap and keeps the center from drying out completely.
- Baking Soda: This is our leavening agent. It works with the other ingredients to give the cookies a slight lift and helps them brown beautifully in the oven.
- White Sugar: We use sugar in the dough for sweetness and extra sugar for rolling the balls. That outer coating creates a lovely crystalline crunch.
The Classic Method
Step 1: Melt and Cool the Chocolate
Begin by melting your semisweet chocolate chips. You can do this over a double boiler or in the microwave in short bursts, stirring frequently. Once smooth, set it aside to cool. It needs to be lukewarm when added to the butter mixture so it doesn’t melt the fat prematurely.
Step 2: Whisk the Dry Ingredients
In a medium bowl, combine your all-purpose flour, baking soda, and salt. Use a whisk to make sure everything is evenly distributed. This prevents any clumps of soda from ruining a bite of your finished cookie.
Step 3: Cream the Butter and Sugar
Using an electric mixer set to medium-low, beat the softened butter and white sugar. You are looking for a light, fluffy consistency. This usually takes about three minutes. This step builds the air pockets that give the cookie its tender crumb.
Step 4: Add the Wet Ingredients
Beat in the vanilla extract, corn syrup, and the egg. Continue mixing until the batter is well combined and smooth. At this point, the mixture should look creamy and uniform.
Step 5: Incorporate the Chocolate
Reduce your mixer speed to low. Slowly pour in the cooled, melted chocolate. Mix just until the chocolate is fully integrated into the butter base. The kitchen will start to smell wonderful right about now.
Step 6: Mix in the Flour
Add your flour mixture gradually. Keep the mixer on low to avoid a flour cloud in your kitchen. Beat only until the white streaks of flour disappear. Overmixing at this stage can lead to a tough cookie, and we want a delicate snap.
Step 7: The Mandatory Chill
Cover your dough and place it in the refrigerator for at least 30 minutes. Chilling the dough allows the flour to fully hydrate and firms up the fat, which prevents the cookies from spreading too thin in the oven. Patience here is a virtue.
Step 8: Shape and Roll
Preheat your oven to 350 degrees F (175 degrees C). Roll the chilled dough into one-inch balls. Roll each ball in a small bowl of extra white sugar until coated. This creates the classic finish we are looking for.
Step 9: Bake to Perfection
Place the balls on ungreased baking sheets about one inch apart. Bake for 10 to 15 minutes. You want the edges to be lightly browned and the tops to look set. Let them rest on the sheet for one minute before moving them to a wire rack to cool completely.
Teresa’s Dough Wisdom

One of the most important things to remember is that temperature is a key ingredient. If your chocolate is too hot when you add it to the butter, it will break the emulsion you worked so hard to create during the creaming stage. Always let it cool until it is just barely warm to the touch. Also, don’t skip the chilling time! If you find yourself in a rush, you might want to try these no-chill chocolate chip cookies instead, but for these snaps, the fridge is your friend.
When rolling the dough, try to keep the balls uniform in size. This ensures that every cookie in the batch bakes at the same rate. If some are larger than others, the small ones will overbake while the large ones stay doughy in the middle. I like to use a small cookie scoop to keep things consistent. Finally, check your baking soda for freshness by dropping a pinch into some vinegar; if it doesn’t fizz vigorously, it’s time to buy a new box.
Build On This Base
Once you have mastered this classic chocolate dough, you can start to have a little fun with it. For a sophisticated twist, add a teaspoon of espresso powder to the flour mixture to deepen the chocolate notes. You can also swap the semisweet chips for dark chocolate or even white chocolate for a completely different look. If you enjoy a bit of spice, looking at how we balance flavors in our triple ginger cookies might inspire you to add a pinch of cayenne or cinnamon to this chocolate base.
For those who love a bit of crunch, try rolling the dough balls in crushed nuts or even colorful sprinkles before baking. This dough is sturdy enough to handle small mix-ins like toffee bits or mini peanut butter chips as well. The foundation is strong, so don’t be afraid to experiment once you’ve got the basic technique down.
Classic Enjoyment

These cookies are best served with a cold glass of milk or a hot cup of coffee. The deep chocolate flavor pairs wonderfully with the creaminess of dairy. If you are hosting a gathering, these snaps make a wonderful addition to a larger dessert platter. They provide a nice textural contrast to softer treats like our bakery-style chocolate chip cookies.
You can also use these snaps as a base for ice cream sandwiches. Simply take two cooled cookies and sandwich a scoop of vanilla or mint chocolate chip ice cream in between. Because they have a firm snap, they hold up well to the moisture of the ice cream without getting soggy too quickly. They are a simple pleasure that brings a bit of warmth to any afternoon.
The Sweet Foundation
Baking is about more than just following a recipe; it is about understanding the ingredients and respecting the process. These Chocolate Snaps are a perfect example of how a few simple steps, done with care, can create something truly special. I hope these become a staple in your kitchen just as they have in mine. If you are looking for more chocolate inspiration, don’t miss our chocolate no-bake cookies for those days when you don’t want to turn on the oven. Please share your baking results with us on Pinterest, Instagram, or Facebook. Happy baking!
