What if we took a classic holiday staple and turned the volume up to eleven? I was standing in my kitchen staring at a tiny star cutter and thought, ‘Why are we playing it so safe?’ That was the moment I decided to go big, ditching the delicate bites for massive, buttery slabs of joy that actually have room for all the icing and sprinkles your heart desires. Breaking the rules of the ‘dainty holiday cookie’ is the only way I know how to celebrate the most wonderful time of the year!

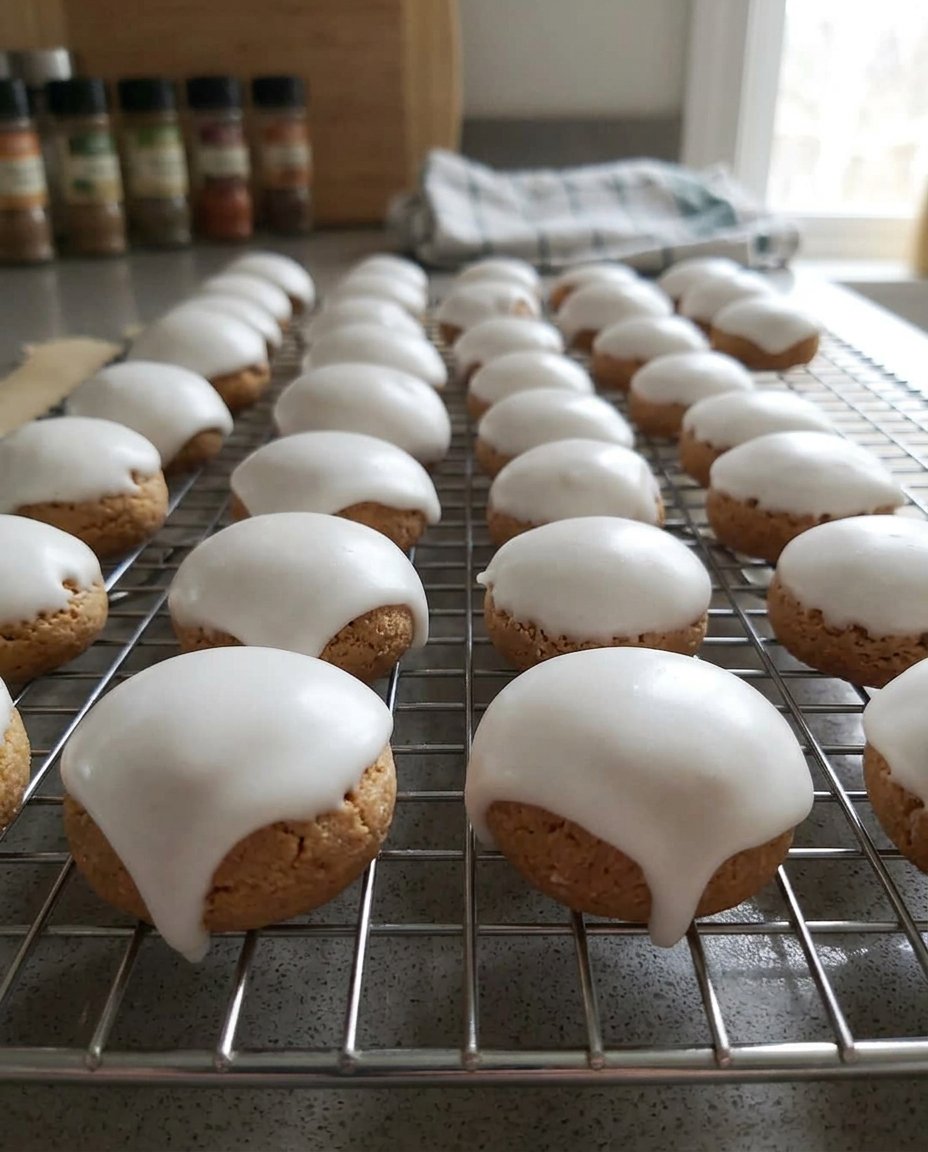
These Christmas sugar cookies are the ultimate blank canvas for your most audacious decorating dreams. We are talking about a dough that is sturdy enough to be rolled thick but soft enough to melt in your mouth with every single bite. This is not just a cookie; it is a holiday event designed to bring the house down with buttery, vanilla-scented magic.
The Ultimate Holiday Power Move
You are going to fall head over heels for these cookies because they represent the ‘more is more’ philosophy in the best way possible. While everyone else is bringing thin, crispy wafers to the party, you are showing up with thick, soft-centered monsters that actually taste like something spectacular. The secret is the double-hit of vanilla and almond extract, which creates a flavor profile so nostalgic and rich it will stop people in their tracks.
These cookies are engineered for visual drama! Because they hold their shape perfectly in the oven, your reindeer will actually look like reindeer and your snowflakes won’t turn into blobs. They provide the perfect foundation for mountains of royal icing and a literal avalanche of festive sprinkles. Plus, they are incredibly reliable—this is the base recipe I use whenever I want to prove that homemade is always better than anything you can buy at a store. It is time to embrace the cookie chaos and make something truly legendary this season.
Print
Christmas Sugar Cookies
- Total Time: 2 hours 30 mins
- Yield: 24 cookies
- Diet: Vegetarian
Description
These thick and buttery Christmas sugar cookies are the ultimate holiday treat, offering a soft texture and a professional bakery flavor thanks to a blend of vanilla and almond extracts. Engineered to hold their shape perfectly, they provide a sturdy yet melt-in-your-mouth foundation for all your festive icing and sprinkle designs.
Ingredients
- 3 cups all-purpose flour, spooned and leveled
- 1 teaspoon baking powder
- 1/2 teaspoon sea salt
- 1 cup (2 sticks) unsalted butter, softened
- 1 cup granulated sugar
- 1 large egg
- 1 teaspoon vanilla extract
- 1/2 teaspoon almond extract
Instructions
- In a medium bowl, whisk together the flour, baking powder, and sea salt to ensure even distribution of the leavening agent.
- Using a stand mixer with the paddle attachment, cream the softened butter and granulated sugar until the mixture is light, fluffy, and well-aerated.
- Add the egg to the butter mixture and mix until fully incorporated, then stir in the vanilla and almond extracts.
- Turn the mixer to low speed and gradually add the dry ingredients, mixing just until the dough comes together to avoid toughening the cookies.
- Divide the dough into two flat disks, wrap them tightly in plastic wrap, and refrigerate for at least 2 hours to help the cookies maintain their shape.
- Preheat the oven to 350°F and roll the chilled dough out to a 1/4-inch thickness before cutting into shapes with holiday cutters.
- Bake for 9 to 11 minutes until the edges are just barely golden brown, then allow them to cool on the sheet to firm up.
Notes
For the cleanest edges on your holiday shapes, always work with well-chilled dough and avoid overworking the scraps when re-rolling. If you plan on doing heavy decorating with royal icing, ensure the cookies are completely cool to the touch before starting to prevent the icing from melting or sliding.
- Prep Time: 2 hours 20 mins
- Cook Time: 10 mins
- Category: Dessert
- Method: Baking
- Cuisine: American
Your Festive Flavor Arsenal

To make cookies this epic, you need a high-quality lineup of ingredients that work together to create the perfect texture and taste. We aren’t cutting corners here; we are building a foundation for holiday greatness.
- All-Purpose Flour: This is the backbone of our cookie, providing the structure needed for those clean, sharp edges. Make sure you spoon and level your flour so your dough doesn’t get too dry and crumbly!
- Unsalted Butter: We use two full sticks of high-quality butter because we want that rich, creamy flavor to be the star of the show. It needs to be at room temperature so it creams perfectly with the sugar.
- Granulated Sugar: This provides the sweetness and helps create those slightly crisp edges that contrast so well with the soft middle.
- Large Egg: The binder that holds our monster dough together and adds a bit of richness.
- Vanilla & Almond Extracts: This is the dynamic duo! The vanilla provides warmth, while the almond extract adds that ‘professional bakery’ secret flavor that makes everyone ask for your recipe.
- Baking Powder and Sea Salt: These provide the lift and balance the sweetness, ensuring the cookies aren’t one-note.
The Stuffing and Baking Process
Step 1: Prep Your Dry Arsenal
Grab a medium bowl and whisk together your flour, baking powder, and sea salt. You want to make sure there are no clumps and that the leavening agent is distributed evenly so every cookie rises exactly the same way.
Step 2: Cream the Butter and Sugar
In the bowl of your stand mixer, throw in that softened butter and granulated sugar. Hit it with the paddle attachment and let it go until the mixture is light, fluffy, and looks like something you’d want to eat with a spoon. This is where we build the air into the dough for that soft texture!
Step 3: Flavor Explosion
Add your egg to the creamed mixture and mix it until it is fully incorporated. Now, pour in the vanilla and almond extracts. The smell hitting your kitchen right now should be absolutely incredible—that is the smell of holiday victory.
Step 4: Combine the Forces
Turn your mixer to low speed and gradually add the dry ingredients. You don’t want a flour explosion in your face! Mix just until the dough comes together. It will be soft, slightly tacky, and perfect for rolling later. Do not overmix here, or you will end up with tough cookies, and we only do soft and gooey around here.
Step 5: The Big Chill
Divide your dough in half and form two flat disks about an inch thick. Wrap them tight in plastic wrap and toss them in the fridge for at least 2 hours. This is non-negotiable! Chilling the dough keeps the butter from melting too fast in the oven, which is the secret to keeping those sharp edges.
Step 6: Roll and Cut
Preheat your oven to 350°F and line your sheets. Roll that chilled dough out to a massive 1/4-inch thickness. Use your favorite holiday cutters—go big with trees, stars, and gingerbread men. Transfer them to the sheets and get ready for the magic.
Step 7: The Final Bake
Slide those sheets in and bake for 9 to 11 minutes. You are looking for the edges to JUST start turning a golden brown. They might look a little underdone in the center, but trust the process! They will set up as they cool, leaving you with that perfect soft bite.
Riley’s Wild Tips for Cookie Perfection

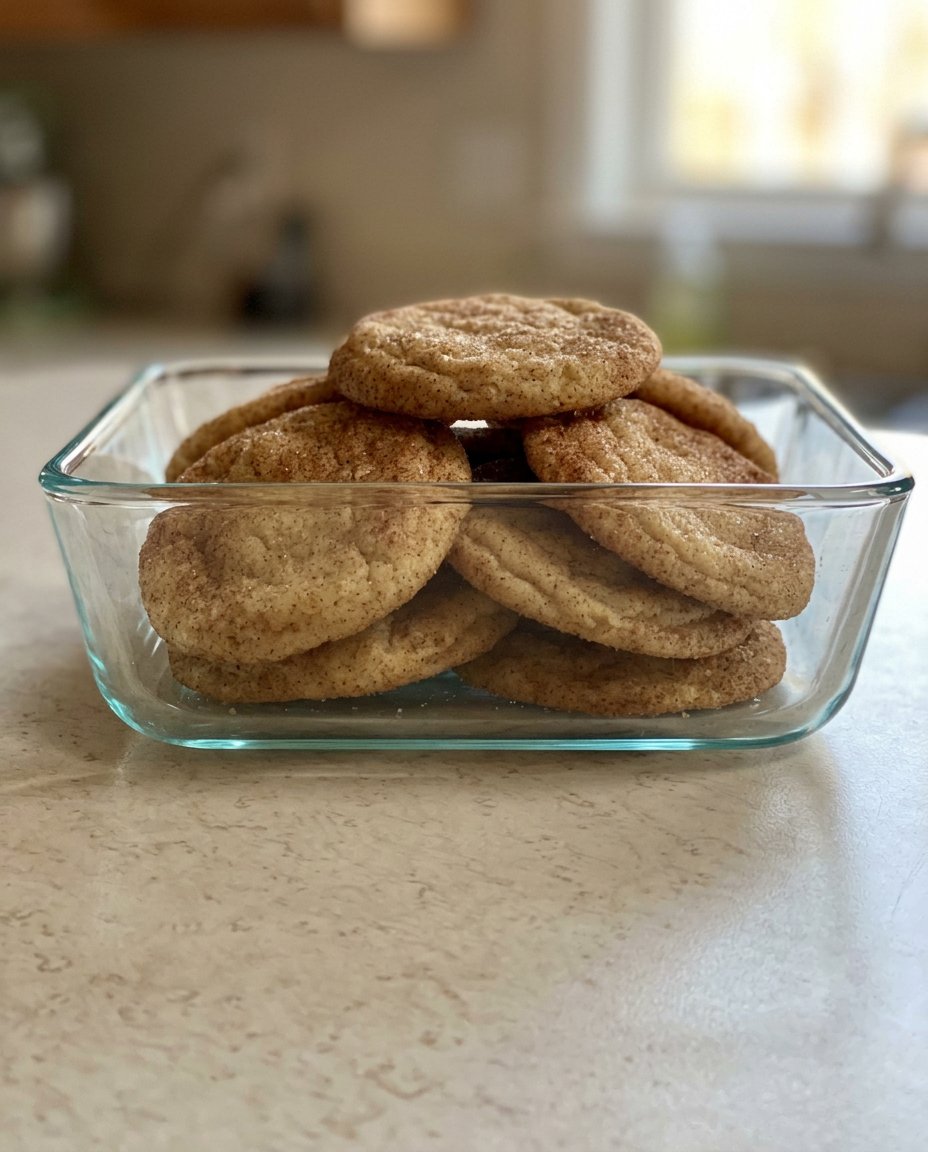
If you want to go truly monster-sized, roll your dough even thicker than a quarter inch—just remember to add a minute or two to the bake time. My biggest secret for success is to always use a cold baking sheet; if you are doing multiple batches, let the sheets cool completely between rounds so the dough doesn’t start melting before it hits the oven. For those who want a different texture, you can check out these swig sugar cookies which offer a completely different take on the sugar cookie vibe.
Also, make sure you are using high-quality extracts. Imitation vanilla has no place in a monster cookie! If you find your dough is getting too soft while you are cutting shapes, just pop it back in the freezer for five minutes to firm it up. For more great holiday inspiration, I always recommend looking at these Christmas sugar cookies for classic decorating ideas that never go out of style.
Go Even Bigger with These Mashup Ideas
Who says a sugar cookie has to be plain? I love to break the rules by folding a half-cup of festive sprinkles directly into the dough for a ‘funfetti’ holiday explosion. You could also sandwich two cookies together with a massive layer of peppermint buttercream for a loaded cookie sandwich. If you are looking for something with a bit more spice, try my butter spritz cookies for a different holiday texture that still brings that buttery punch.
Another wild idea is to dip half of the finished, cooled cookie into melted dark chocolate and then coat it in crushed candy canes. It adds a crunch and a flavor layer that is totally unexpected. You can even swap the almond extract for lemon or orange zest if you want a bright, citrusy kick to cut through all that rich icing!
Party Mode: How to Share the Magic

When you are ready to serve these, go for maximum visual impact! I like to arrange them on a massive tiered tray, mixed in with some festive cookie moments to create a true dessert centerpiece. If you really want to be the hero of the holiday party, serve these alongside a hot cocoa bar with all the fixings like whipped cream, chocolate shavings, and oversized marshmallows.
For a fun kid-friendly setup, set out plain cookies with bowls of different colored icing and various toppings so guests can decorate their own monster creations. It is a great way to get everyone involved in the cookie chaos! Just make sure you have plenty of napkins, because when the icing is this loaded, things are going to get messy and fun.
The Sweet Truth About Cookie Chaos
At the end of the day, holiday baking is about making memories and breaking a few rules in the kitchen. These cookies are more than just a recipe; they are a celebration of everything bold and sweet. If you loved these, you definitely need to try my italian christmas cookies for even more holiday variety. Don’t forget to share your monster-sized creations with me on social media! Let’s keep the cookie chaos going all season long. Follow me for more wild recipes on Instagram, Pinterest, and TikTok.
