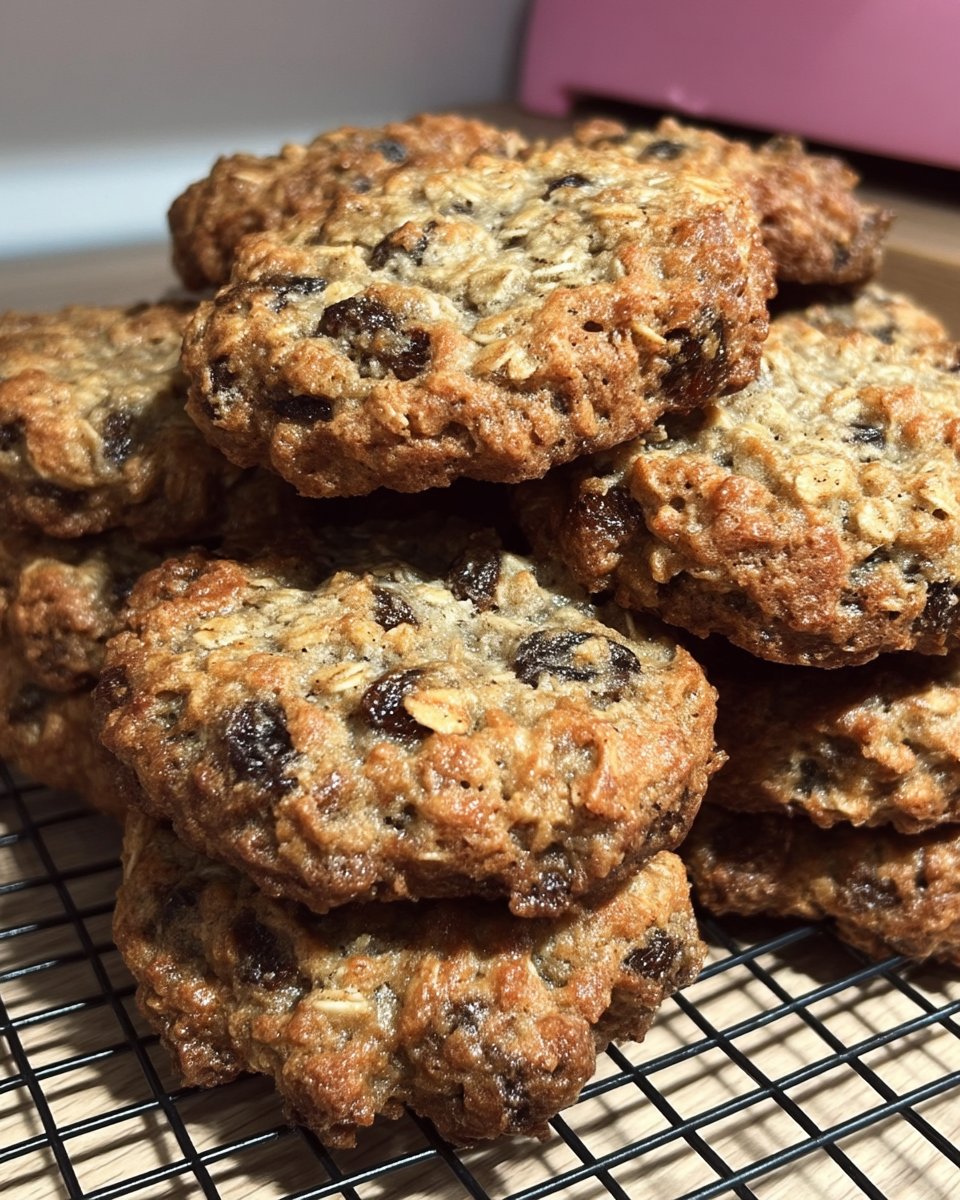
Every baker needs a reliable foundation in their kitchen, a recipe that works every single time without fail. This dough represents years of testing and a deep respect for the classic balance of butter and sugar that defines a perfect treat. When you start with a strong base, you have the freedom to be as creative as you like with your toppings and add-ins later on.

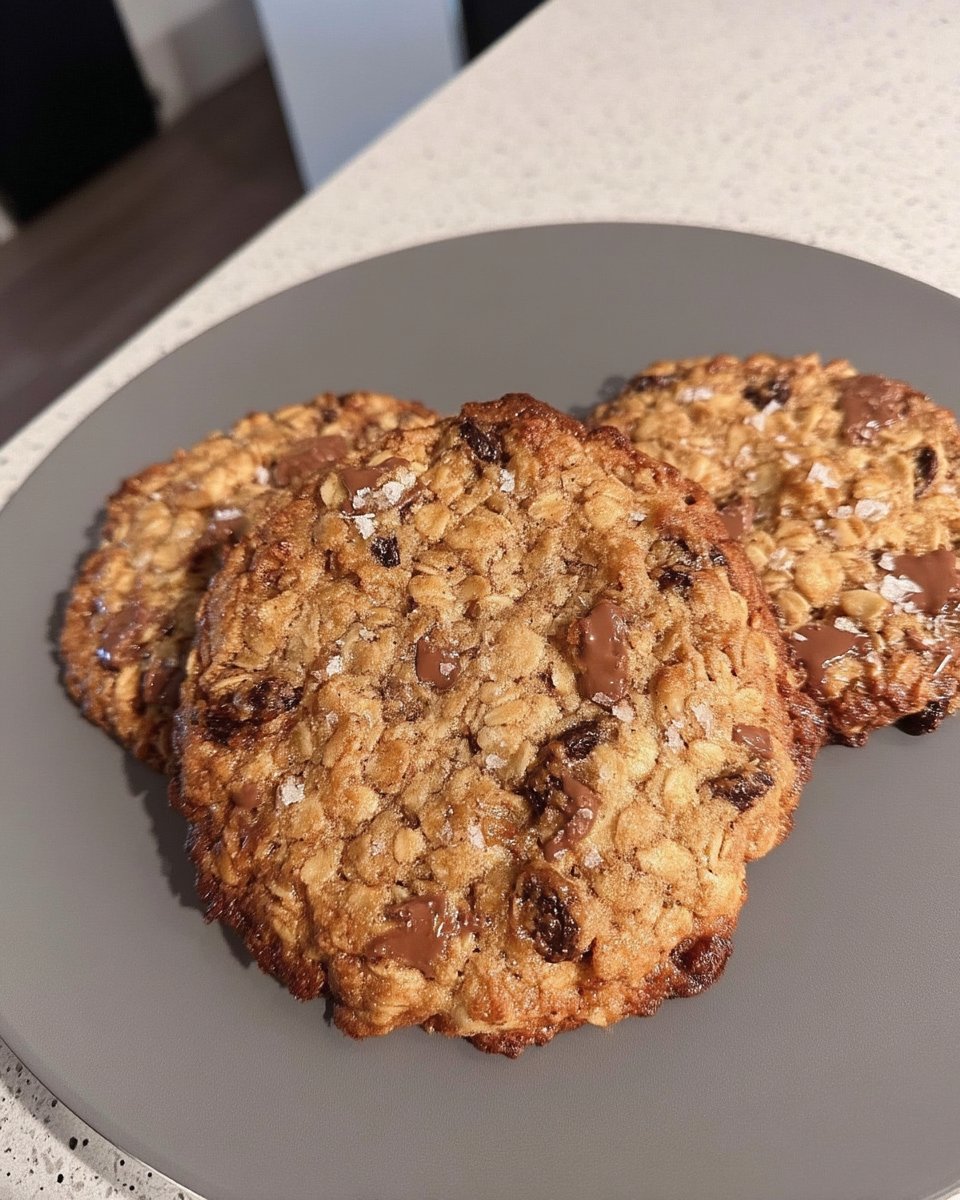
These cookies are thick, chewy, and rely on a high-temperature bake to create those beautiful golden edges we all love. By focusing on the quality of your ingredients and the temperature of your butter, you will produce a batch that tastes like it came from a professional bakery. This is the recipe I turn to when I want to show someone how much I care through the simple art of baking.
The Foundation of a Perfect Cookie
You will love this recipe because it prioritizes the integrity of the dough above everything else. Many recipes focus so much on the candy and chocolate that they forget the cookie itself needs to be flavorful and tender. This version uses a specific ratio of granulated and brown sugars to create a soft center that stays moist for days.
Technique matters here, but it is not complicated or difficult to master even for a beginner. We use a higher oven temperature of 375 degrees Fahrenheit (190 degrees Celsius) which is a little unusual for cookies but is the secret to getting that lift. It allows the outside to set quickly while the inside remains soft and gooey, providing the perfect contrast in every single bite.
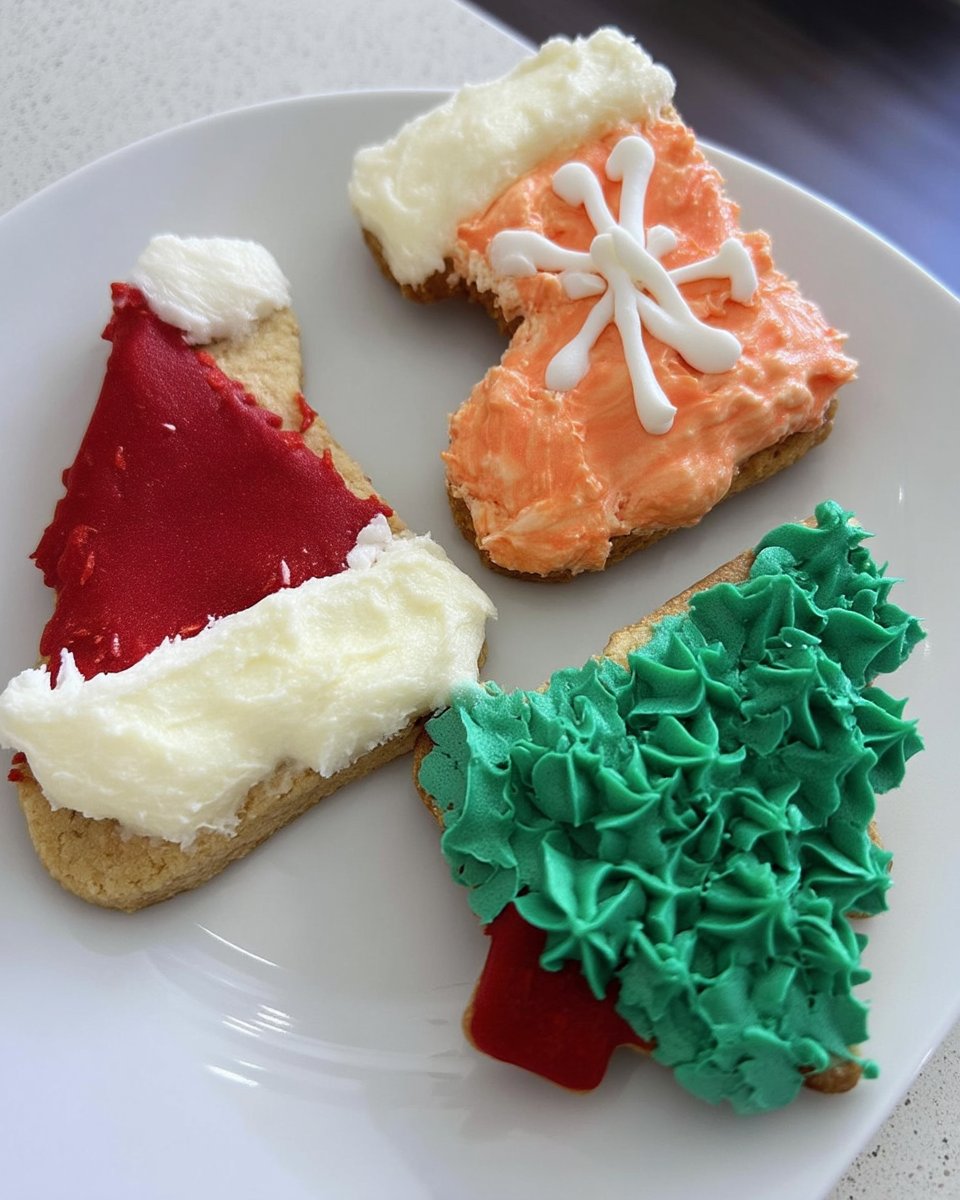
Finally, this dough is sturdy enough to be the starting point for any wild idea you have in mind. Whether you want to stuff them with peanut butter cups or keep them classic with semi-sweet chips, the foundation remains solid. It is a reliable, warm, and comforting recipe that honors the traditional way of making things from scratch.
Print
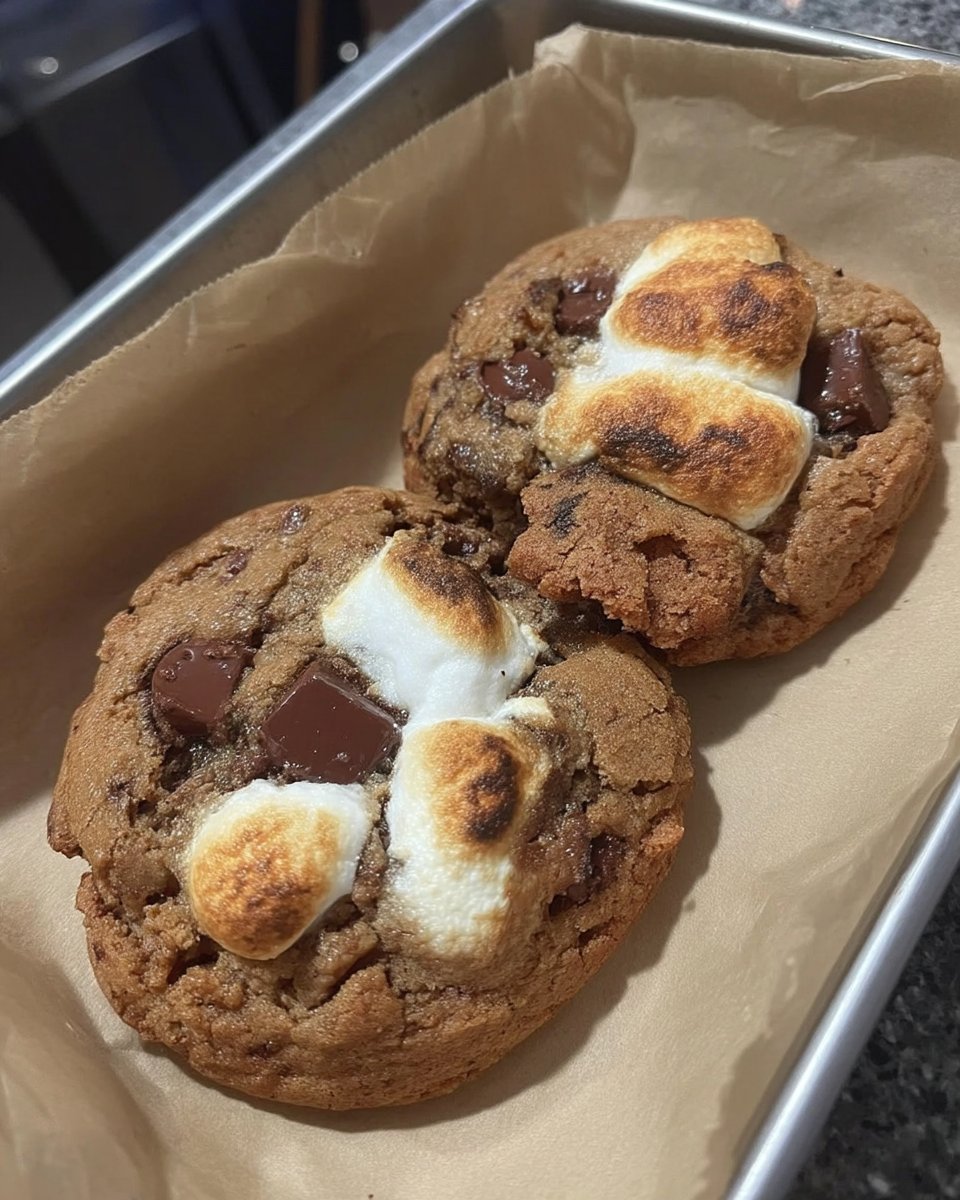
Chocolate Chip Cookies
- Total Time: 25 mins
- Yield: 36 cookies
- Diet: Vegetarian
Description
A reliable, bakery-style cookie featuring a perfect balance of crisp edges and a soft, chewy center. This foundational dough uses a high-temperature bake to create professional results with every batch.
Ingredients
- 1 cup salted butter, softened but cool
- 3/4 cup granulated sugar
- 3/4 cup light brown sugar, packed
- 2 large eggs
- 2 teaspoons pure vanilla extract
- 3 cups all-purpose flour
- 1 teaspoon baking soda
- 1/2 teaspoon baking powder
- 1 teaspoon fine sea salt
- 2 cups (12 oz) semi-sweet chocolate chips
Instructions
- Preheat oven to 375 degrees Fahrenheit (190 degrees Celsius) and line three large baking sheets with parchment paper or silicone mats.
- In a medium-sized bowl, whisk together the all-purpose flour, baking soda, baking powder, and sea salt until evenly combined.
- Using a stand mixer or hand mixer, cream together the softened salted butter, granulated sugar, and light brown sugar until the mixture is combined and slightly fluffy.
- Add the two large eggs and pure vanilla extract to the butter mixture and beat for one full minute until the batter looks light and pale.
- Turn the mixer to the lowest setting and slowly add the dry flour mixture, mixing only until the white streaks of flour just disappear.
- Using a sturdy spatula, fold in the two cups of chocolate chips by hand until they are distributed evenly throughout the dough.
- Roll the dough into balls (about 2 to 3 tablespoons each) and place them on the prepared baking sheets with space to spread.
- Bake for 8 to 10 minutes, removing them when the edges are just turning golden brown but the centers still look soft and doughy.
- Let the cookies sit on the baking pan for at least 5 minutes to set before moving them to a wire cooling rack.
Notes
To achieve a more uniform look, use a cookie scoop for even portions and press a few extra chocolate chips onto the tops of the dough balls right before baking. Always allow the cookies to rest on the hot baking sheet for several minutes to ensure they set properly without breaking.
- Prep Time: 15 mins
- Cook Time: 10 mins
- Category: Dessert
- Method: Baking
- Cuisine: American
Quality Ingredients for a Better Bake

Starting with the right components is the first step toward a successful batch of cookies. I always recommend using the best quality butter you can find, as it is the primary flavor carrier for the entire recipe.
- Salted Butter: Use butter that is softened but still cool to the touch. It should hold a thumbprint but not be oily or melting, as this supports the structure of the dough.
- Sugar Duo: We use a mix of granulated sugar for those crisp edges and light brown sugar for the deep, molasses-rich moisture that makes a cookie chewy.
- Pure Vanilla Extract: Avoid the imitation stuff; real vanilla provides a warm, floral depth that synthetic versions just cannot match.
- All-Purpose Flour: This provides the necessary protein structure to hold all those chocolate chips in place without the cookie becoming tough.
- Leavening Agents: A combination of baking soda and baking powder provides both lift and browning, ensuring the cookies aren’t flat or lifeless.
- Sea Salt: I exclusively use fine sea salt because it balances the sweetness perfectly. If you only have table salt, use a bit less to avoid making the dough too salty.
- Chocolate Chips: You need two full cups (12 oz) of your favorite variety. Whether you prefer milk chocolate or dark chunks, the quality of the chocolate will shine through in the finished product.
The Classic Method
Step 1: Prepare Your Kitchen
Preheat your oven to 375 degrees Fahrenheit (190 degrees Celsius). Line three large baking sheets with parchment paper or silicone mats to prevent sticking and to help the cookies bake evenly without over-browning the bottoms.
Step 2: Mix the Dry Ingredients
In a medium-sized bowl, whisk together your all-purpose flour, baking soda, baking powder, and sea salt. Taking the time to sift or whisk these together ensures that the leavening is distributed evenly throughout the dough, preventing any metallic-tasting spots.
Step 3: Cream the Butter and Sugars
Using your KitchenAid or a hand mixer, cream together the softened salted butter, granulated sugar, and light brown sugar. You want to beat them together until the mixture is combined and looks slightly fluffy, which creates the air pockets needed for a tender crumb.
Step 4: Add the Wet Ingredients
Add the two large eggs and the pure vanilla extract to the butter mixture. Beat these in for about one full minute until the batter looks light and pale. This step is vital for the texture, as it helps the sugar begin to dissolve and incorporates the eggs fully.
Step 5: Combine the Foundations
Turn your mixer to the lowest setting and slowly add the dry flour mixture into the wet ingredients. Mix only until the white streaks of flour just disappear; over-mixing at this stage can lead to a tough, bready cookie instead of a tender one.
Step 6: Fold in the Chocolate
Add your two cups of chocolate chips or chunks into the bowl. Use a sturdy spatula to fold them in by hand, making sure they are distributed evenly so that every single cookie gets a generous amount of chocolate.
Step 7: Scoop and Shape
Roll the dough into balls, about 2 to 3 tablespoons each depending on your preference. Place them on the prepared baking sheets with enough space between them to allow for slight spreading during the baking process.
Step 8: Bake to Perfection
Bake for 8 to 10 minutes. The most important rule is to remove them when they are just barely starting to turn golden brown on the edges but still look quite doughy and soft in the center. They will continue to firm up on the hot pan.
Step 9: Cool and Set
Let the cookies sit on the baking pan for at least 5 minutes before moving them to a wire cooling rack. This resting period allows the structure to set so they don’t fall apart when you pick them up.
Dough Wisdom from Teresa

The most important thing to remember is the temperature of your butter. If it is too warm, your cookies will spread into puddles; if it is too cold, they won’t cream properly with the sugar. If you find your kitchen is very warm, try chilling the dough balls for 15 minutes before they go into the oven to help them hold their shape. For a truly professional look, try this bakery-style chocolate chip cookies 2 technique of pressing a few extra chocolate chips onto the tops of the dough balls right before baking. Also, never skip the resting time on the pan, as it finishes the cooking process gently.
Build On This Base
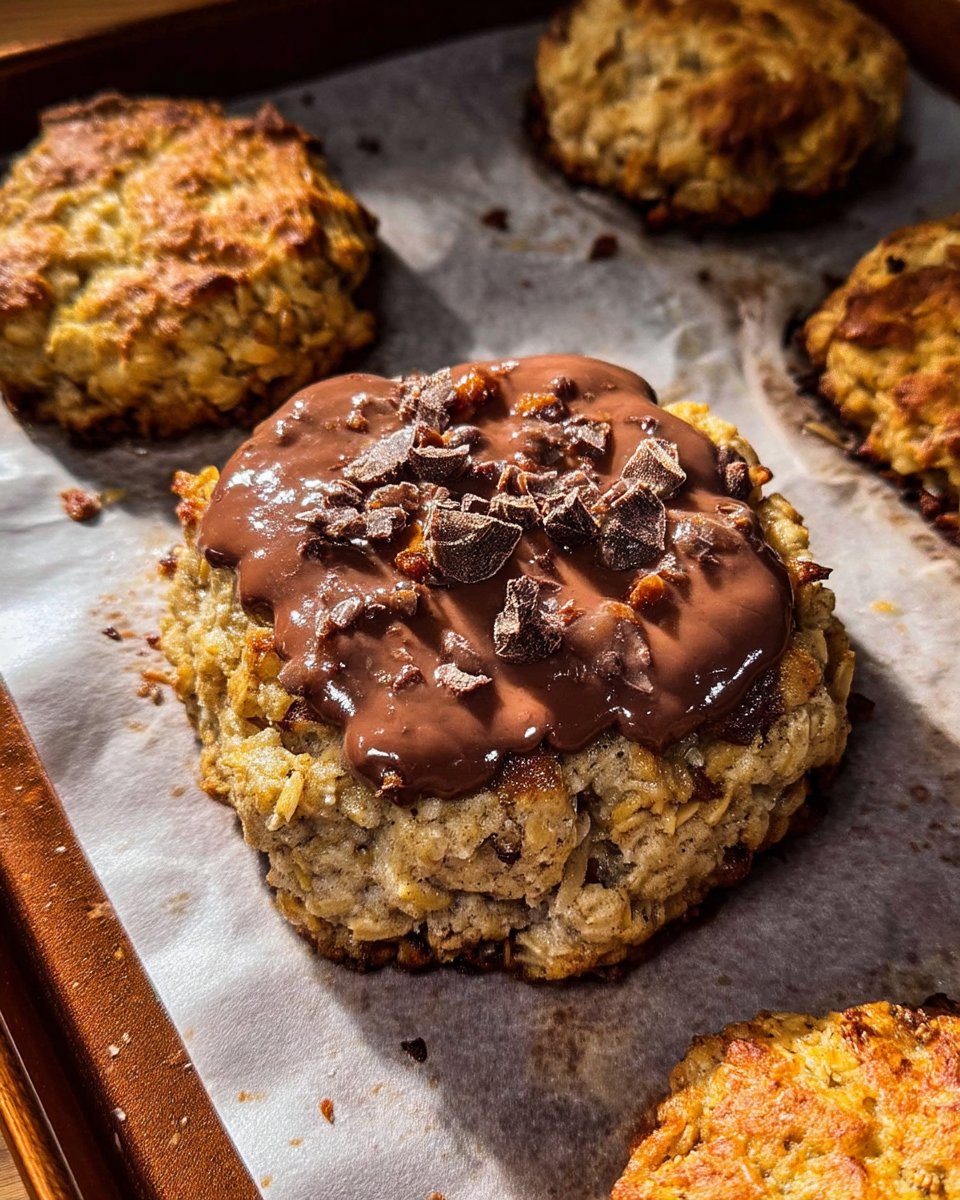
Once you have mastered this foundational dough, you can start to have a little fun with the add-ins. You can swap the chocolate chips for chopped walnuts or pecans to add a lovely crunch and a nutty flavor. If you are in a rush and need something even faster, you might enjoy our no-chill chocolate chip cookies which are perfect for last-minute cravings. For a more sophisticated twist, try browning the butter first to give the cookies a deep, toffee-like aroma, or sprinkle a tiny bit of flaky sea salt on top immediately after they come out of the oven.
Classic Enjoyment

There is nothing quite like a warm cookie served with a cold glass of milk. It is a timeless tradition that brings out the buttery notes of the dough and the richness of the chocolate. If you are serving these for a party, you can create a beautiful display by mixing them with our cookies and cream cookies for a variety of textures and flavors. They also make a wonderful base for an ice cream sandwich; just place a scoop of vanilla bean ice cream between two cooled cookies and press gently for a decadent dessert.
The Sweet Foundation
Baking is about more than just following a recipe; it is about creating a moment of comfort for yourself and those you love. When you use this reliable dough as your starting point, you are continuing a long tradition of home baking that values quality and technique. For another classic foundation that never fails, I invite you to try our bakery-style chocolate chip cookies. I would love to see your beautiful creations, so please share your photos with me on Pinterest and Instagram. Happy baking, and remember that a good cookie always starts with a good heart.

